
How to Fry Perfect Sunny Side Up Eggs!
Sunny side up eggs - apart from sounding very optimistic, have a few other distinguishing features.
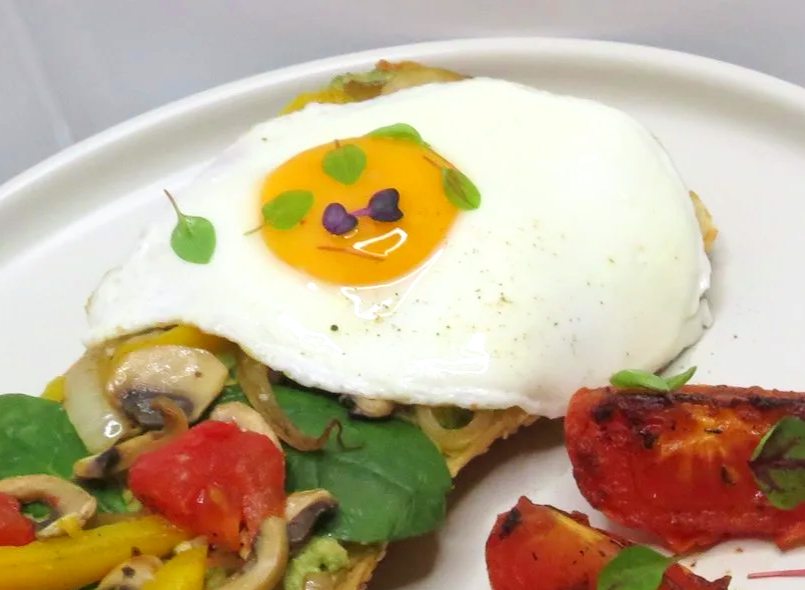
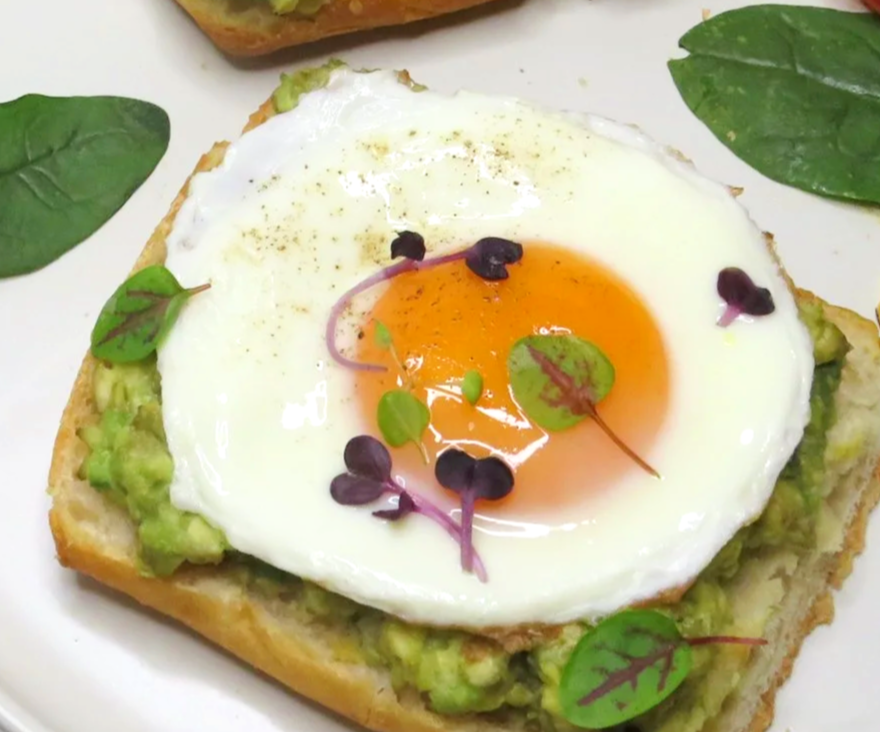
Eggs made sunny side up are eggs that are cooked only on one side before removing from the pan, ensuring the egg white is fully cooked through and set and the egg yolk remains runny when pierced.
Seems simple enough, right?
Well, as you may know already, frying the perfect sunny side up egg isn’t always as easy as it looks.
You may find your egg burning to the pan…the yolk getting overcooked…or the white not getting cooked enough!
It can be frustrating or even seem impossible, but you’ll soon find that there was just the knowledge of a few simple tips and tricks between you and frying the perfect sunny side up egg every time.
Below you’ll find my MUST-KNOW guide containing all the tips and tricks for perfectly frying sunny side up eggs.
You can refer to this handy, one page guide whenever you need a refresher :)
(Note: If you are cooking for young children, an elderly person, pregnant woman or someone with a compromised immune system, it may be best to substitute for a type of egg where the yolk and white are cooked all the way through e.g. over-hard eggs, hard scrambled eggs, hard boiled eggs, etc).
SUNNY SIDE UP EGGS - GUIDE
IMPORTANT NOTE - Non-stick pans require different cooking instructions and heats due to their coatings. For example, non-stick pans cannot be heated dry and oil must be added to the cold pan - I am not experienced with cooking in non-stick pans so this is NOT a non-stick pan, egg-frying guide)
Find a nice medium: Temperature is a very important factor when cooking eggs sunny side up. Put the temperature up too high and you run the risk of burning the bottom of your egg and cooking the egg yolk. Put the temperature too low and they may turn rubbery. That’s why I recommend cooking on a steady, medium-low heat. This ensures the egg whites are cooked through but the yolk is left nice and runny when pierced.
Heat the dry pan first: Bring the dry pan to a medium-low heat before adding anything to it.
Grease the pan: Don’t try and fry your eggs dry! Add a touch of olive oil, butter or even lard to the pan first and swirl it around to grease the pan before adding your egg. Use about a teaspoon per egg.
Don’t crack your eggs straight into the pan: Eggs fry up fast. If you’re not the best at cracking eggs yet, you run the risk of shells or a broken yolk in your pan. It’s best to be safe and try cracking your egg into a small bowl or ramekin first and then transfer it to the pan. That way, if need be, you can easily remove any unwanted egg shells, rather than trying to fish them out of the egg as it’s cooking (which is definitely a bad idea 😂).
Oh and since I couldn’t go a whole egg post without making at least one tasteful pun…I’ll say it again…unless you’re a certified eggs-pert, don’t go cracking your eggs straight into the pan!
Keep count: Make sure after you crack your egg into the pan, that you wait until it starts to set a little, changing in colour from translucent to white - this should happen in less than 20 seconds - then it’s time for the next and most important step!
Steam the eggs: The best trick for making sure your egg whites come out evenly cooked and perfectly set is to pop the lid on your pan and let them steam!
Sunny side up eggs are not flipped, but cooked on one side only to give them soft, set egg whites and a runny yolk. That’s why it’s important to add the lid to the saucepan and trap the steam. It’s this steam which will help gently and completely cook the top of your egg whites without hardening the yolk, helping you avoid that clear, gloopy bit of uncooked egg still sticking to the top of your white.
Use a Spatula: Finally, when removing the cooked eggs from the pan, I find it is easiest and most efficient to use a spatula to transfer the eggs to the plate. It slides right underneath the entire egg and keeps the egg level when moving, so the yolk doesn’t get damaged.
SUNNY SIDE UP EGGS RECIPE
(Please note, this recipe is NOT suitable for pans with non-stick coatings such as Teflon).
METHOD
1. Bring a dry pan to a medium-low heat.
2. Once the pan is hot, add either olive oil, butter or lard (about a teaspoon per egg) and swirl the pan a little to spread it around.
3. Add your egg(s) to the pan. Once the egg hits the hot pan and the grease it should start to set and begin turning from translucent to white in less than 20 seconds. At this point, cover with lid to allow the egg(s) to steam.
3. Once you have covered with the lid, you simply wait for the eggs to finish cooking. If making only one egg, allow it to cook for around a further 2 minutes, or until the egg white is completely set but the yolk will still be soft and runny when pierced. If you are cooking multiple eggs together in the pan, depending on the size of your pan and how many you’re cooking, you will need to cook them for a little longer to ensure each egg white is completely set, around 3 - 5 minutes.
4. When you’re eggs are ready, turn off the heat and use a spatula to gently remove them from the pan.
If this guide helped you FINALLY fry the perfect sunny side up egg, please leave a comment below - I’d love to hear from you! :)