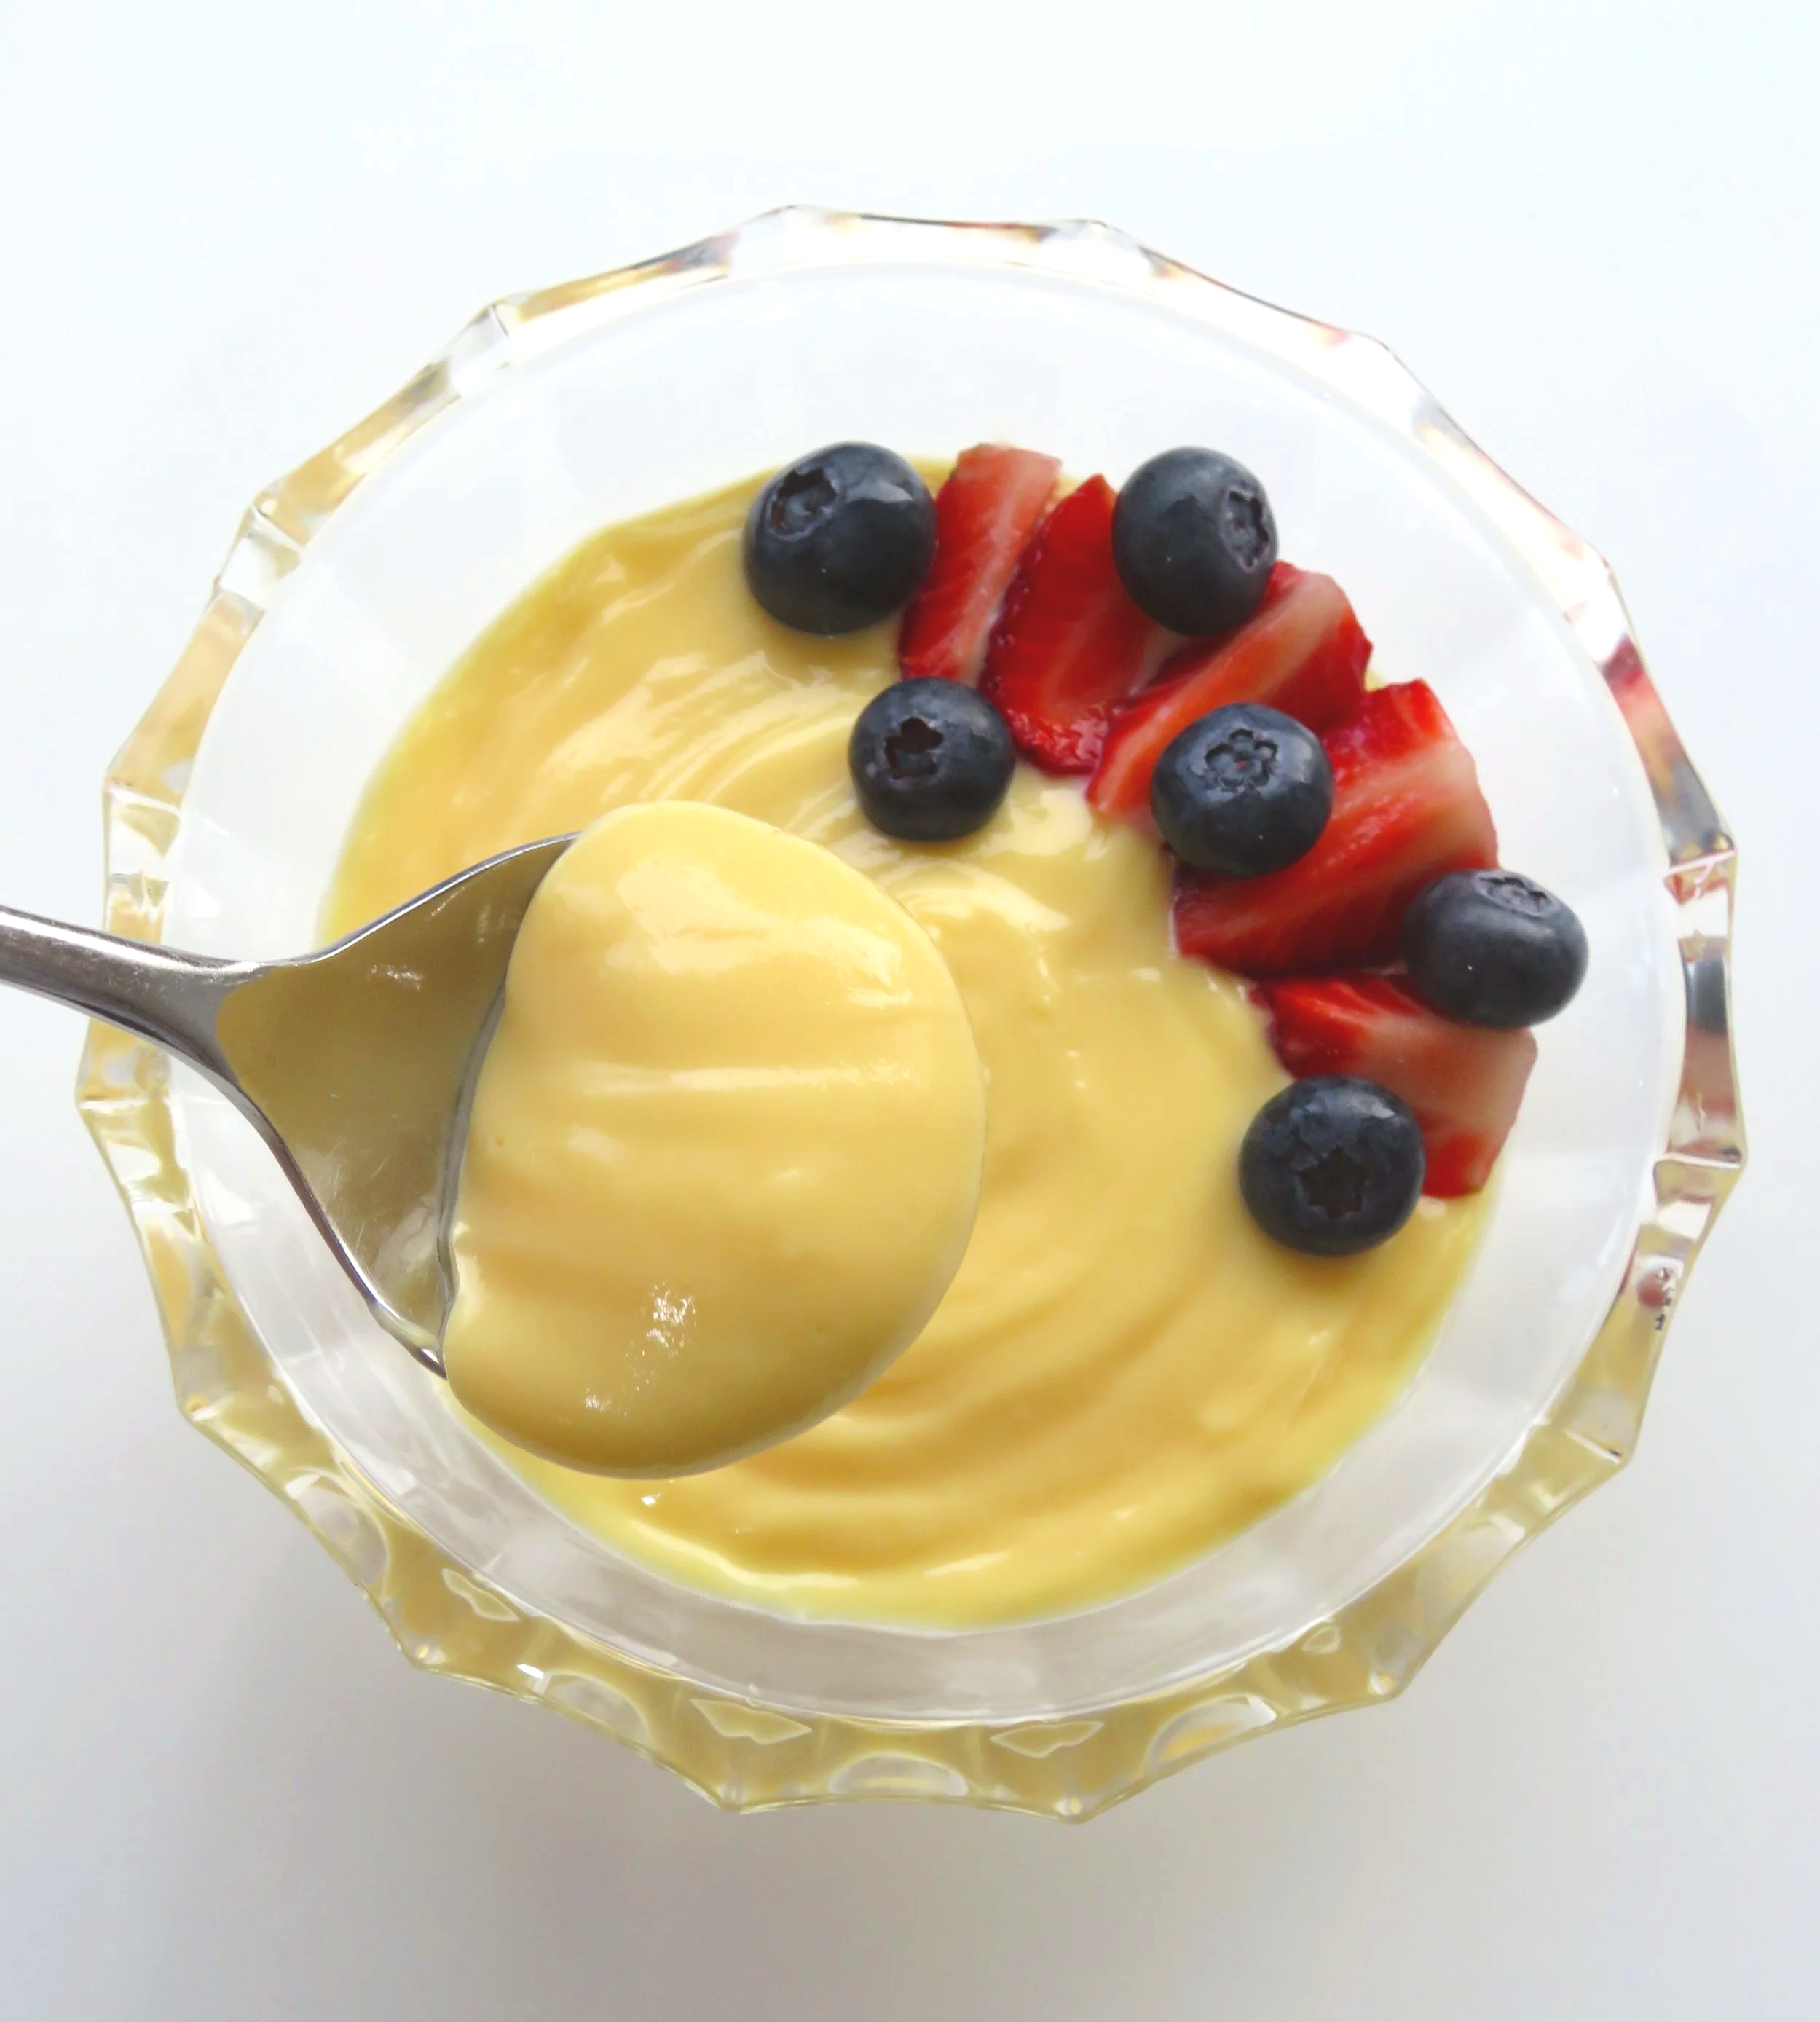
VANILLA CUSTARD PUDDING
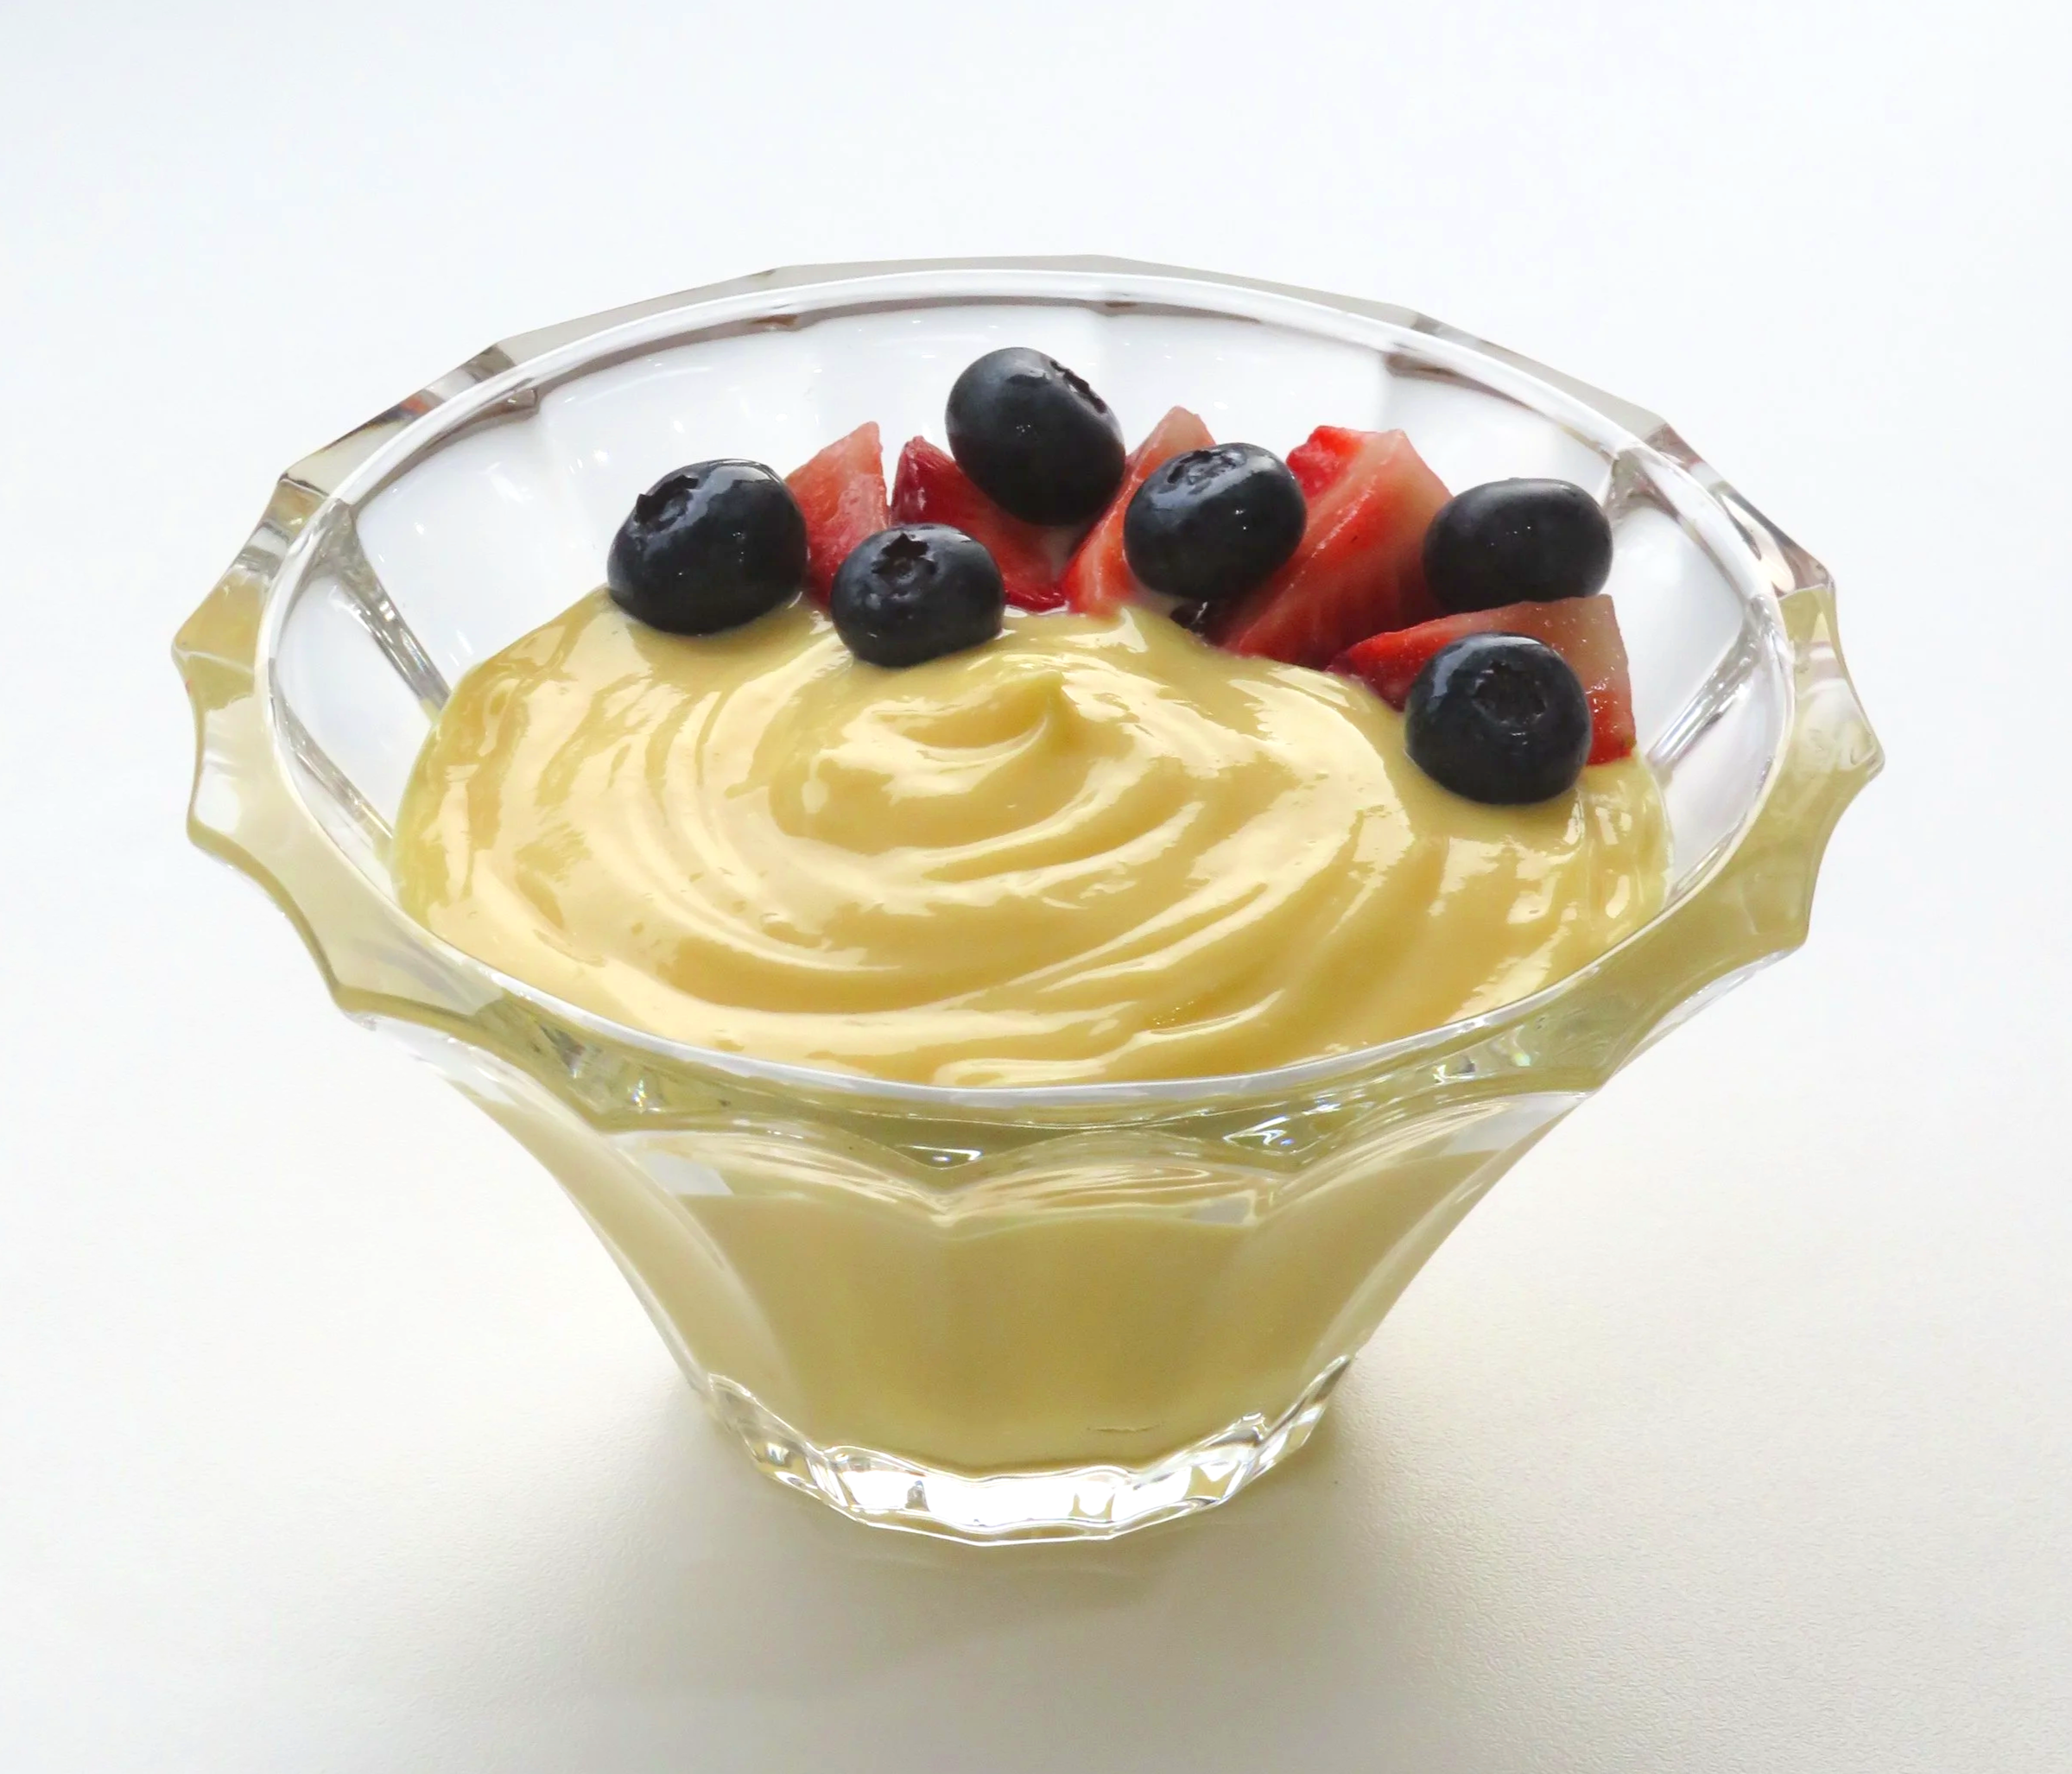
It’s so easy to make this rich, sweet and creamy vanilla pudding a.k.a custard that is perfect topped with fruit and eaten off the spoon…or used as a filling in desserts like custard tarts, profiteroles, cannoli, cannoncini, cream-filled doughnuts and more! And the best part is, it takes only 5 ingredients and 15 minutes of prep time to create :)
CONTENTS OF THIS RECIPE POST
I always recommend reading the entire post to get the best understanding of the recipe, helpful tips, information about ingredients, storage advice etc.
Here’s a quick look at what topics are included in this recipe post :)
WHAT INGREDIENTS GO INTO HOMEMADE VANILLA PUDDING?
Egg Yolks
You only need the yolks for this recipe. Egg yolks have a higher fat content than egg whites, adding richness to both the flavour and texture of this pudding. Egg yolks also serve an important purpose in helping to thicken your pudding and give it a silky mouthfeel.
If you were to add the egg whites also, it could somewhat dilute the flavour of your pudding and make it a little looser in texture.Cornstarch a.k.a Cornflour
Cornstarch thickens the pudding so that it can hold its shape well. I use cornstarch instead of flour as cornstarch will not impart any floury taste to the finished pudding. Plus it’s gluten-free, which is an added bonus for those following a gluten-free diet :)
Sugar
Gives the pudding its sweetness.
Milk
Milk contributes to the smooth texture and creamy flavour. It also gives body to the pudding. For these reasons, I do not recommend substituting low-fat or non-dairy milk in this recipe as it will not only affect the flavour, but the consistency and body of the pudding.
Vanilla Extract
Gives the pudding its wonderful vanilla flavour.
Salt
Seasoning with a pinch of salt will accentuate the other subtle flavours in this pudding and enhance its sweetness.
CAN I USE FLOUR INSTEAD OF CORNSTARCH when making vanilla pudding?
Yes! If you don’t have any cornstarch, you can still make this recipe using all-purpose flour as a substitute.
Cornstarch has double the thickening power of flour, so when using flour as a substitute you will need to double the quanity. For example, you use 2 tablespoons of all-purpose flour for every 1 tablespoon of cornstarch required in this recipe.
This pudding recipe calls for 3 tbsps + 1 tsp of cornstarch, so you will use 6 tbsps + 2 tsps of all-purpose flour as a substitute!
Important Note: Do NOT use an aluminium or cast iron saucepan when making this recipe as these will leach into the pudding and turn it grey! I recommend using a stainless steel saucepan when making this rich vanilla pudding :)
HOW LONG DOES IT TAKE TO MAKE VANILLA CUSTARD PUDDING FROM SCRATCH?
It only takes about 15 minutes to make homemade vanilla pudding and then you can place it into the refrigerator to chill.
HOW TO PREVENT YOUR HOMEMADE VANILLA PUDDING BECOMING LUMPY OR GRAINY:
To prevent your pudding from becoming lumpy, grainy or gritty in texture, you need to make sure the egg yolks are properly incorporated and not overcooked.
Here are a few tips:
Whisk your egg yolks until runny before adding the sugar and cornstarch.
Make sure you temper the eggs. This is the most important step in the recipe and can make or break your pudding. I will explain in the recipe itself how to temper the eggs, so please pay attention to that step and don’t forget to complete it - as it is crucial. If you do not temper the eggs, you may risk overcooking them and they will actually scramble and create little egg lumps all throughout your pudding, ruining the smooth mouthfeel and silky texture.
OPTIONAL: If you have correctly tempered the eggs, your liquid pudding will be perfectly smooth before you add it to the saucepan for the final stage of cooking, which will thicken the consistency. However, if you made a mistake (which can happen on your first try so don’t sweat it!) and your mixture became grainy, you might think it’s all over. But don’t give up because there’s still a chance! Instead of wasting those ingredients you can try to save your pudding by running the mixture through a sieve to catch the lumps and keep them out of your saucepan. The end result might not be perfect but it’ll still be good and you’ll learn how to do better for the next time you try :)
Fun Fact: Failure is part of the process of success!
HOW LONG DOES VANILLA PUDDING NEED TO CHILL FOR?
When vanilla pudding comes off the stove it is obviously quite hot and will need some time in the refrigerator to fully cool down. The amount of time will vary depending on the size of the batch you are making. For the quantities used in this recipe it should be about 1 - 2 hours of chill time - however just check and see - if when you touch the airtight container it still feels a little warm, then your pudding will need more time to cool.
HOW TO STORE VANILLA CUSTARD PUDDING:
Vanilla pudding can be stored in a glass, airtight container in the refrigerator for 3-5 days.
Sometimes the pudding can form a “skin” layer on top when chilled or in storage. I find that when I store my pudding in an airtight container this does not happen. However, if you do experience this with your pudding make sure to scrape the layer off. If you mix it through, it will cause lumps in your pudding.
The time spent in the refrigerator will also “set” your pudding into firmer consistency, so remember to give it another whisk after taking it out of the fridge, to bring back to the desired consistency.
Be mindful! - If your vanilla pudding has formed a “skin” layer on top after chilling - you must scrape it off - as whisking it through would cause lumps in your pudding.
HOW CAN I USE LEFTOVER EGG WHITES?
There are many ways you can use the leftover egg whites you’ll have after separating the egg yolks for this recipe.
Egg whites can be used for savoury dishes like an egg white omelette or as a substitute for whole eggs in a baked egg breakfast recipe.
They can also be used to make many sweet desserts such as meringue, pavlova, macarons, amaretti cookies and more.
RECIPE
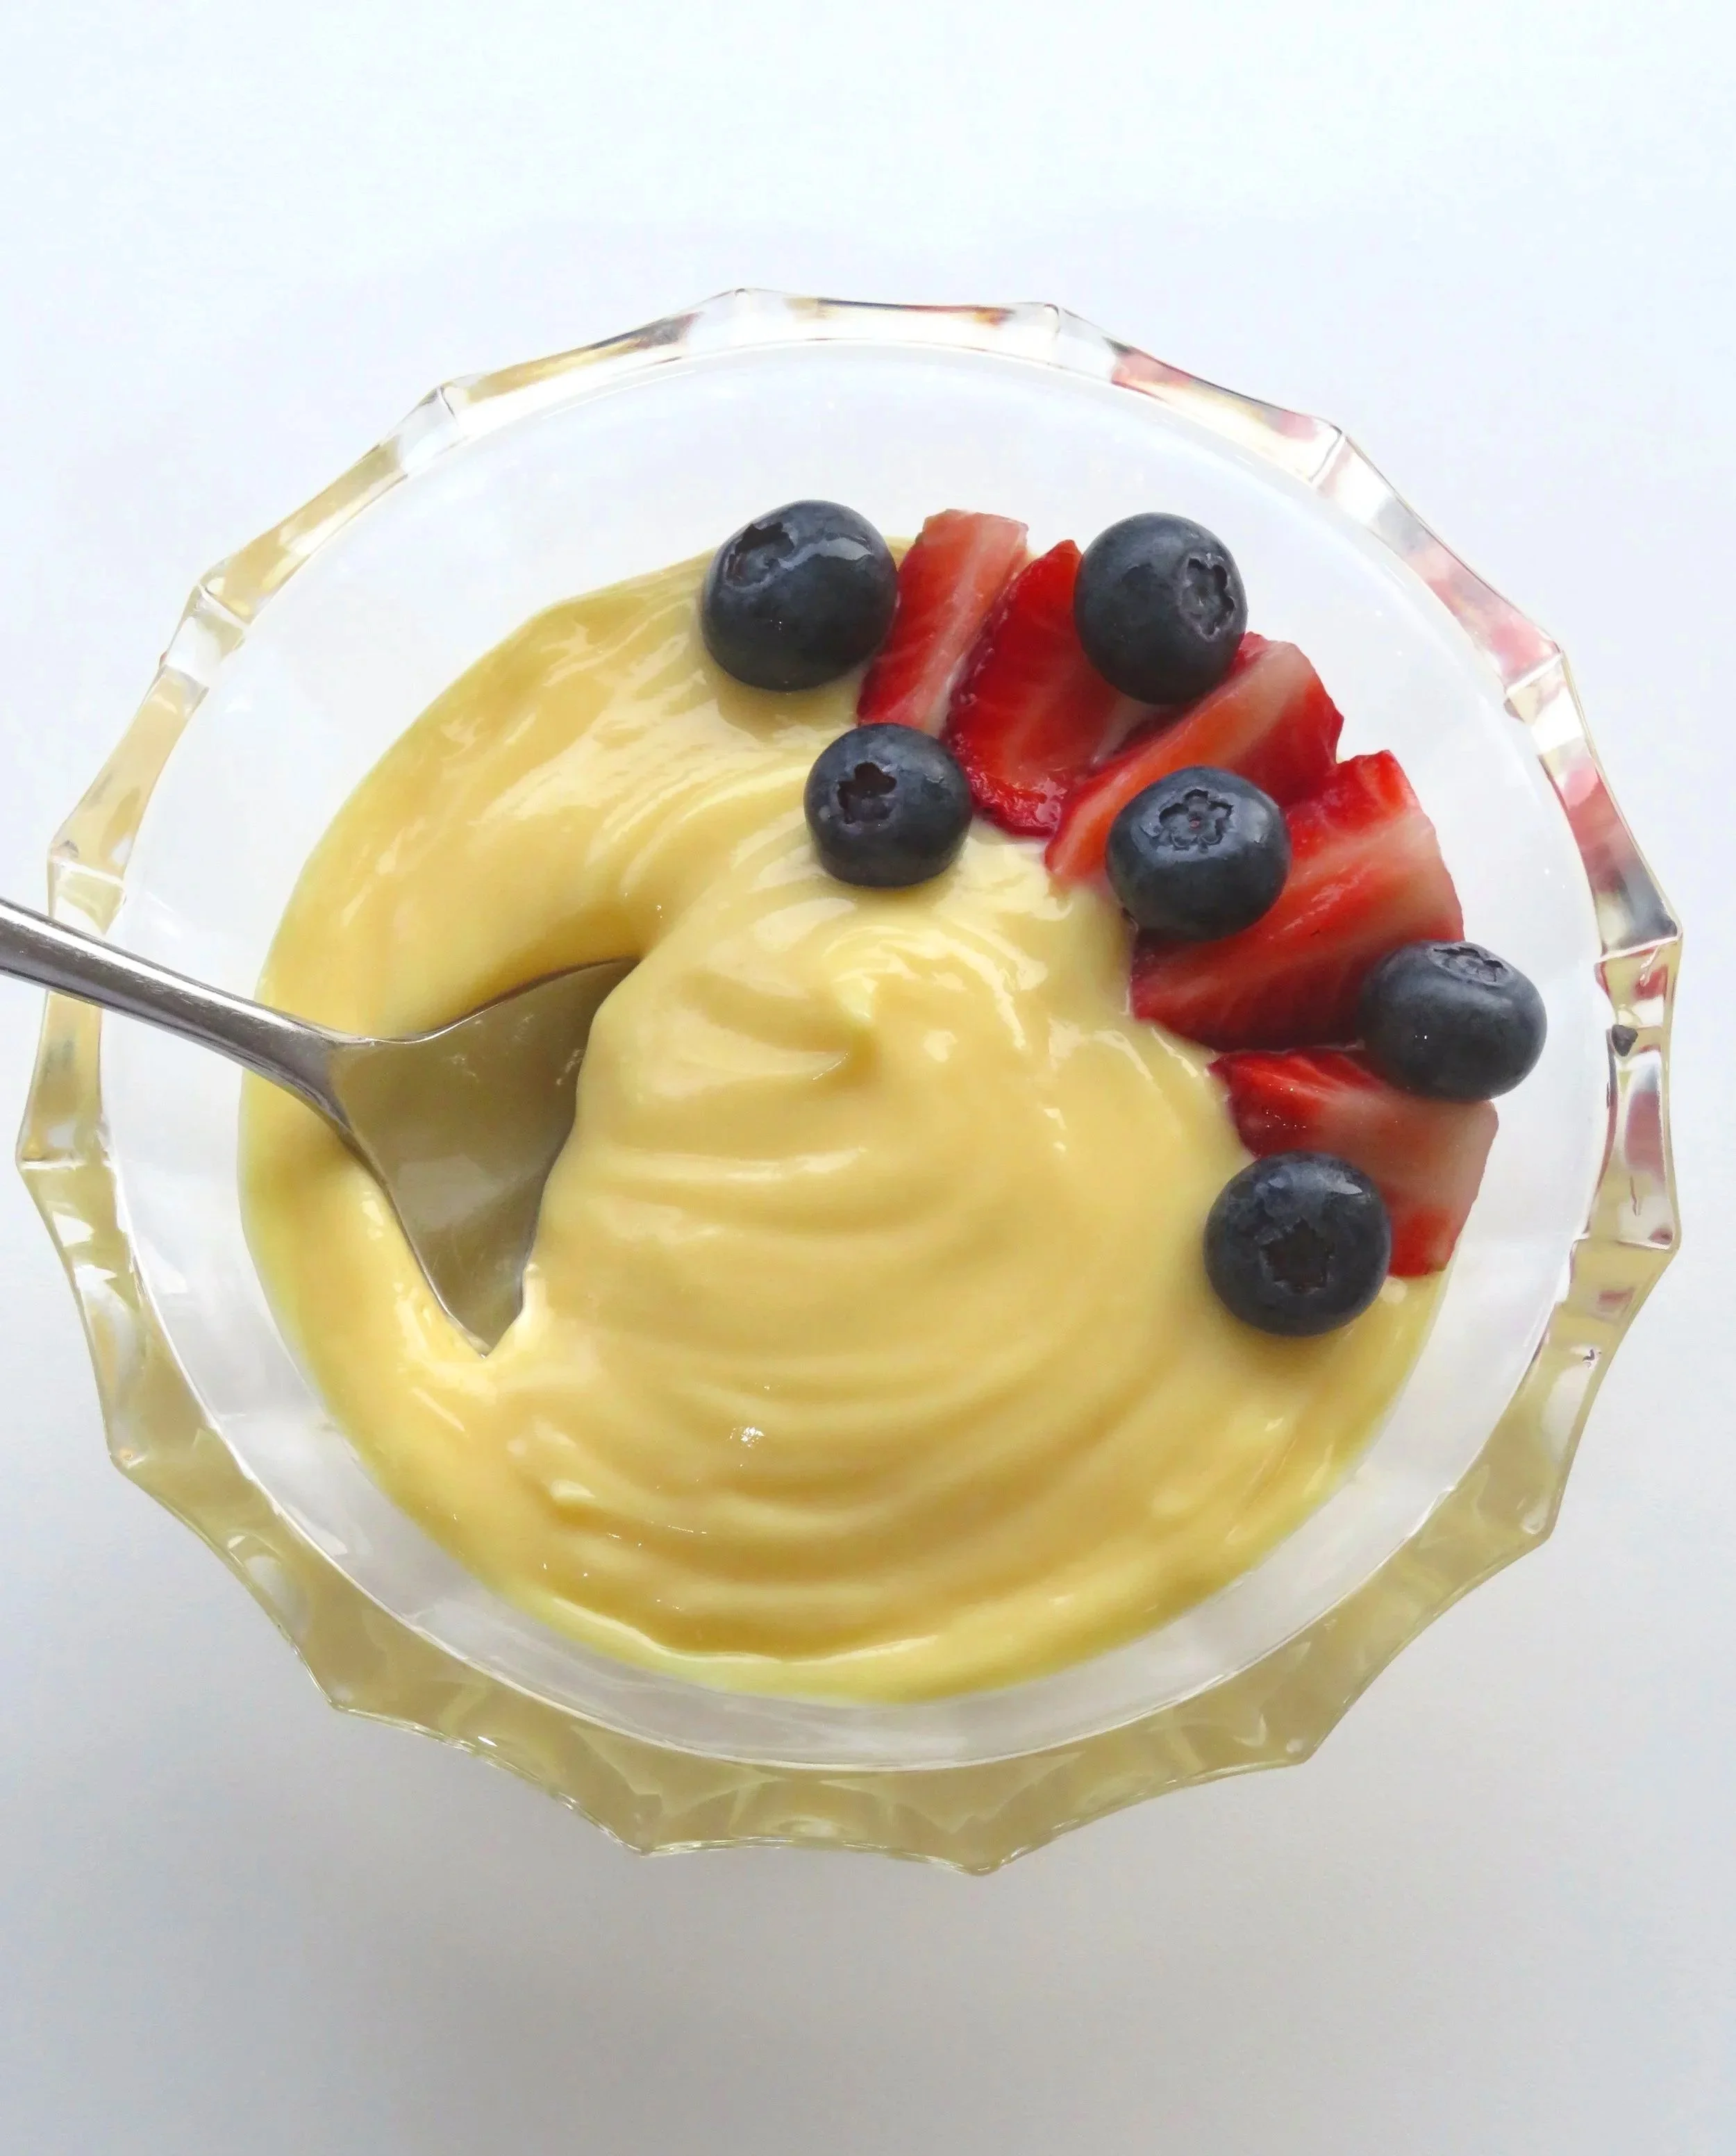
VANILLA CUSTARD PUDDING
Yield: 2 cups
Prep Time: 15 minutes
Chill Time: 1 - 2 hours
Difficulty: Medium
Save on socials
INGREDIENTS
4 egg yolks
1/2 cup granulated white sugar
3 tbsps + 1 tsp cornstarch/cornflour, sifted (If you do not have cornstarch you can substitute with 6 tbsps + 2 tsps of all-purpose flour)
2 cups whole milk
1 tsp vanilla extract
Pinch of salt
METHOD
1. Place milk in a saucepan and stir through the vanilla extract and a pinch of salt. Place saucepan over medium heat and bring to a simmer.
2. Meanwhile, in a heatproof bowl, whisk together the egg yolks, then add sugar and cornstarch, whisking again until combined and the mixture is light and creamy.
3. Once the vanilla milk has reached a simmer, immediately remove from the heat and pour just a few tbsps of the milk into your egg mixture while whisking. This will temper the eggs (help to bring them up to temperature without scrambling them). Repeat this another 2 or 3 times, then slowly stream in all of the remaining milk mixture while whisking.
4. Once all of the milk has been incorporated, check if your mixture is smooth or grainy. If it is grainy run it through a sieve to remove the lumps as you pour the mixture back into the saucepan. If it is smooth, you can skip the sieve and pour it straight into the saucepan.
5. Heat on medium-low, whisking constantly, for around 5 minutes or until the pudding has thickened considerably in consistency and has bubbled for at least 1 minute while whisking (this is important as if your pudding does not reach the temperature to bubble it may not be cooked properly. Please keep in mind that bubbling may not occur until the pudding has been on the heat for a few minutes - if it happens right away your temperature is likely too high, and should be lowered a little).
6. Remove from the heat, whisk a little more and set aside for a few minutes to help it cool down a bit before transferring to a glass, airtight container, sealing and placing in the refrigerator to chill.
7. Once the pudding has cooled completely (1 - 2 hours), it will be ready to use. If it has formed a “skin” layer on top, just scrape that off - do not mix it through as doing so would cause lumps in the pudding. The pudding will be a little more “set” after chilling in the refrigerator, so give it another whisk to bring it back to the desired consistency.
STORAGE:
This vanilla pudding (custard) can be stored in a glass, airtight container in the fridge for 3-5 days.
When ready to use, check to see if a “skin” layer has formed on top. If it has, scrape it off. The pudding may also be a little more “set” into a firm consistency after chilling in the fridge so give it a whisk to bring it back to the desired consistency.

When you try this recipe…
I’d love to know!
Take a pic of your Vanilla Custard Pudding and tag @smileeatcreate on Instagram
Or leave a comment below!
You Might Also Like to TRY THESE RECIPES NEXT!