Christmas Rocky Road
This rocky road is super simple and fun to make with just 4 simple ingredients and it makes for a perfect Christmas treat. As the name would suggest, it has lots of different textures and It looks spectacular when you top it with sprinkles and other edible decorations to create a snowy winter wonderland theme or classic red and green, festive look :)
It only takes 5 - 10 minutes to prepare and just needs to chill in the fridge until the chocolate is set! Then you can slice it into squares or strips and serve it up at your Christmas get-together.

Rocky road is a classic Aussie dessert enjoyed by many year-round. It’s believed to have originated here all the way back in the 1850’s when candies imported from Europe (which had passed their best during the sea voyage) were salvaged by mixing with nuts and chocolate, then sold as a treat to gold mine workers. They were named “rocky road” after the difficult roads these workers had to travel to reach the gold mines!
The dessert also became very popular in the U.S. in the 1900s when it was made into a beloved ice cream flavour and today is loved all over the world with different countries having their own variations on the sweet treat and it’s inclusions.
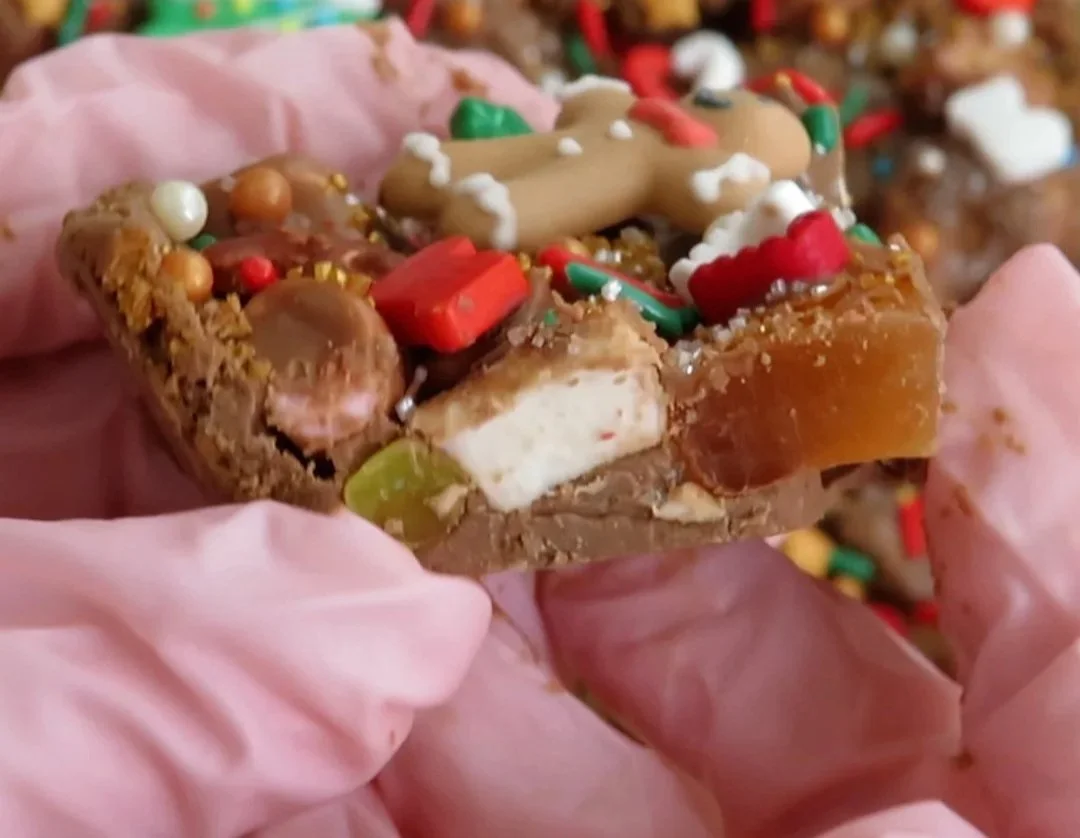
Today I am sharing with you a Christmas themed rocky road recipe with fruit gummies, squishy marshmallows and bites of crunchy gingerbread cookie, all held together by a delicious coating of chocolate. You can easily modify this recipe, by swapping out or adding in your favourite rocky road ingredients like smarties, pretzels or shaved coconut.
You could even make a vegan version by replacing the fruit gummies and marshmallows with dried fruits and nuts.
It’s perfect to serve when entertaining or simply enjoyed as a snack. You can make it in advance for a party or get together, or just keep it in the fridge until your next craving.
With it’s fun texture and vibrant colour, this rocky road is a treat for the eyes and the tastebuds! :)
Fun Fact: Rocky road is believed to have originated in Australia in the 1850’s, when candies imported from Europe (which had passed their best during the sea voyage) were salvaged by mixing with nuts and chocolate, then sold as a treat to gold mine workers. They were named “rocky road” after the difficult roads these workers had to travel to reach the gold mines!
HOW LONG DOES ROCKY ROAD TAKE TO SET?
You will know rocky road is set when the chocolate is firm and the slices cut cleanly. This will usually take 2-3 hours, but you can also leave your rocky road in the fridge overnight.
PRO TIP: Since this rocky road contains marshmallows and gummies, it will be much easier to cut if you warm your knife in hot water first. Make sure to wipe the knife dry with a teatowel or cloth, and then make your cut. Repeat with each cut of the rocky road, to ensure clean and even slices! :)
HOW TO STORE HOMEMADE ROCKY ROAD AND HOW LONG DOES IT LAST?
This homemade rocky road can be stored in an airtight container in the fridge for around 2 weeks.
RECIPE
CHRISTMAS ROCKY ROAD
Serves: 6 - 12 (1 - 2 squares each)
Prep Time: 5 - 10 minutes
Chilling Time: 2 - 3 hours or overnight
Difficulty: Easy / Beginner
INGREDIENTS
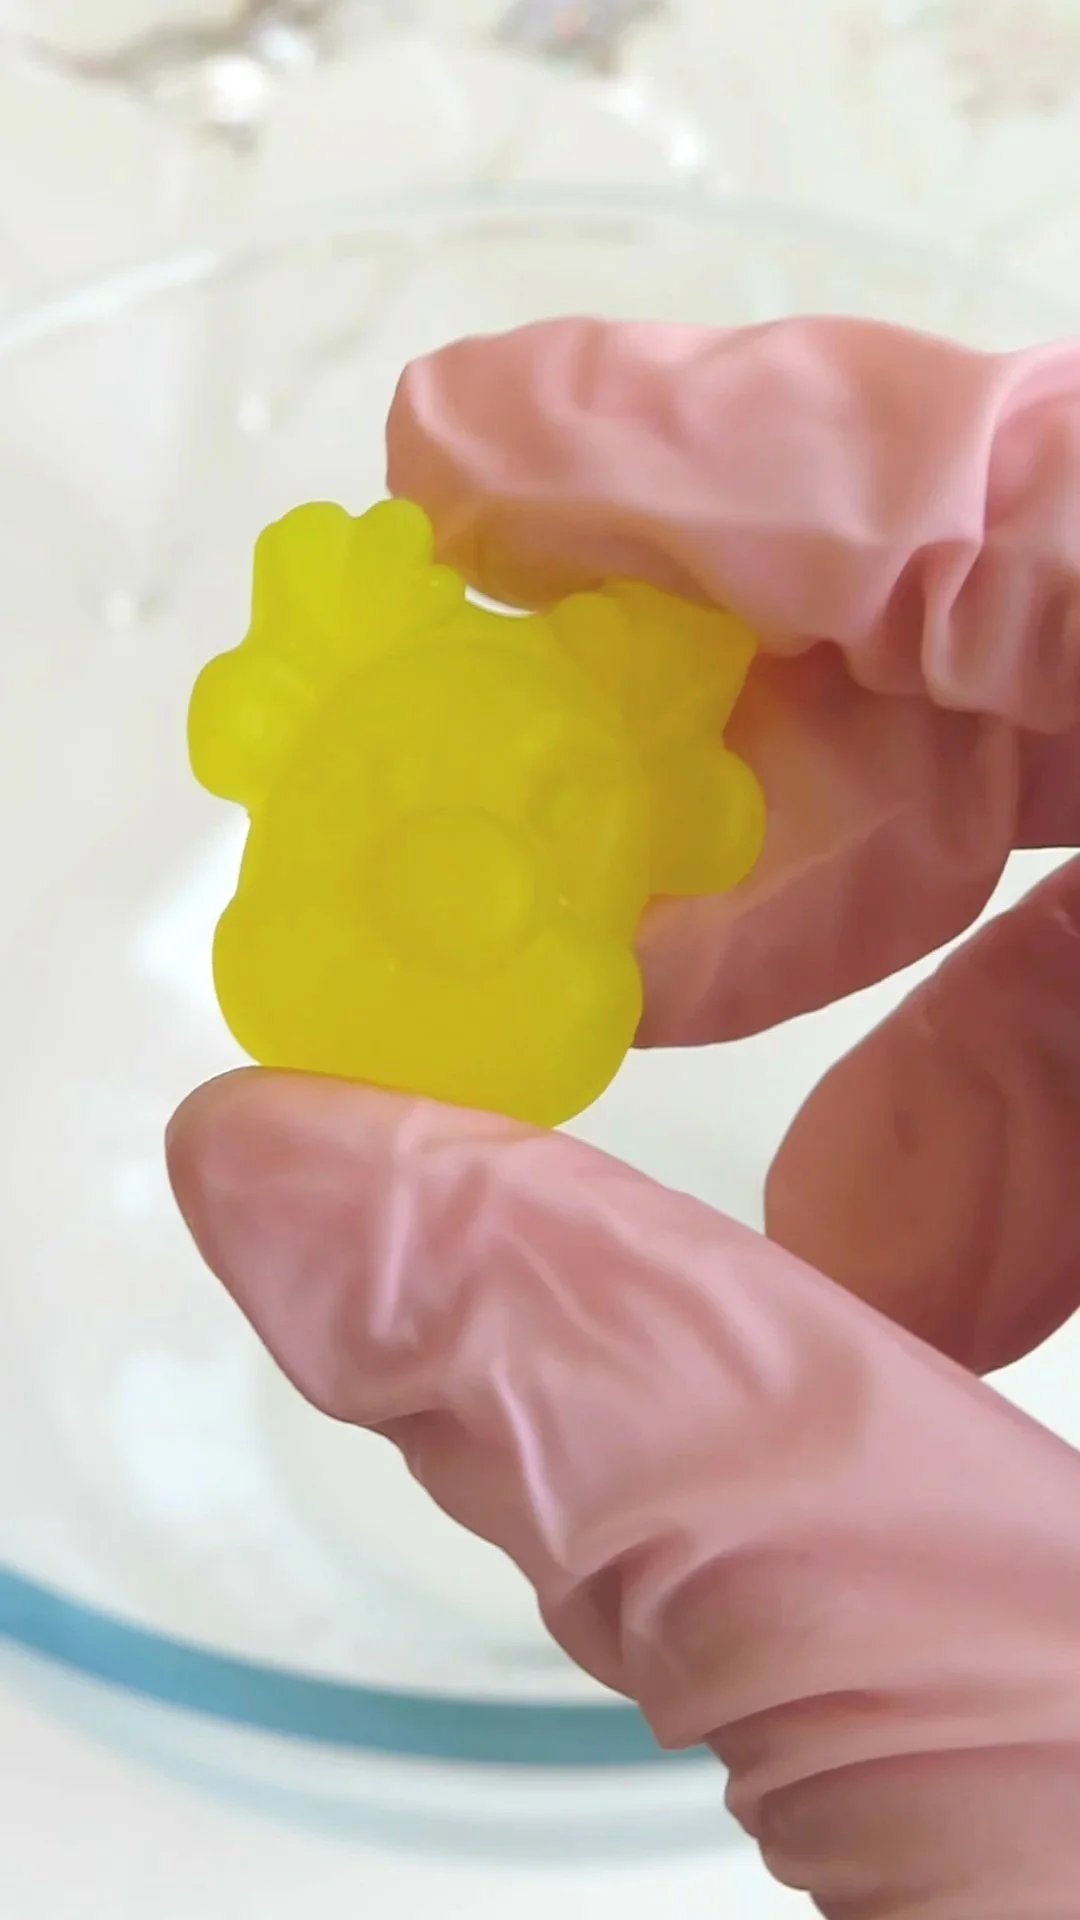
150g fruit gummies - about 30 gummies
(I use the Natural Confectionary Co. Christmas Party Mix, because it contains a variety of colours and the gummies are shaped like Christmas trees, stocking, presents, reindeer and more. They give great colour to the rocky road once it’s sliced, and you could even press a few into the top as decorations so the Christmas shapes show!)
50g mini marshmallows
200g milk, white or dark chocolate, according to your preference
4 gingerbread cookies
OPTIONAL TOPPINGS
For the “Snowy Winter Wonderland” look
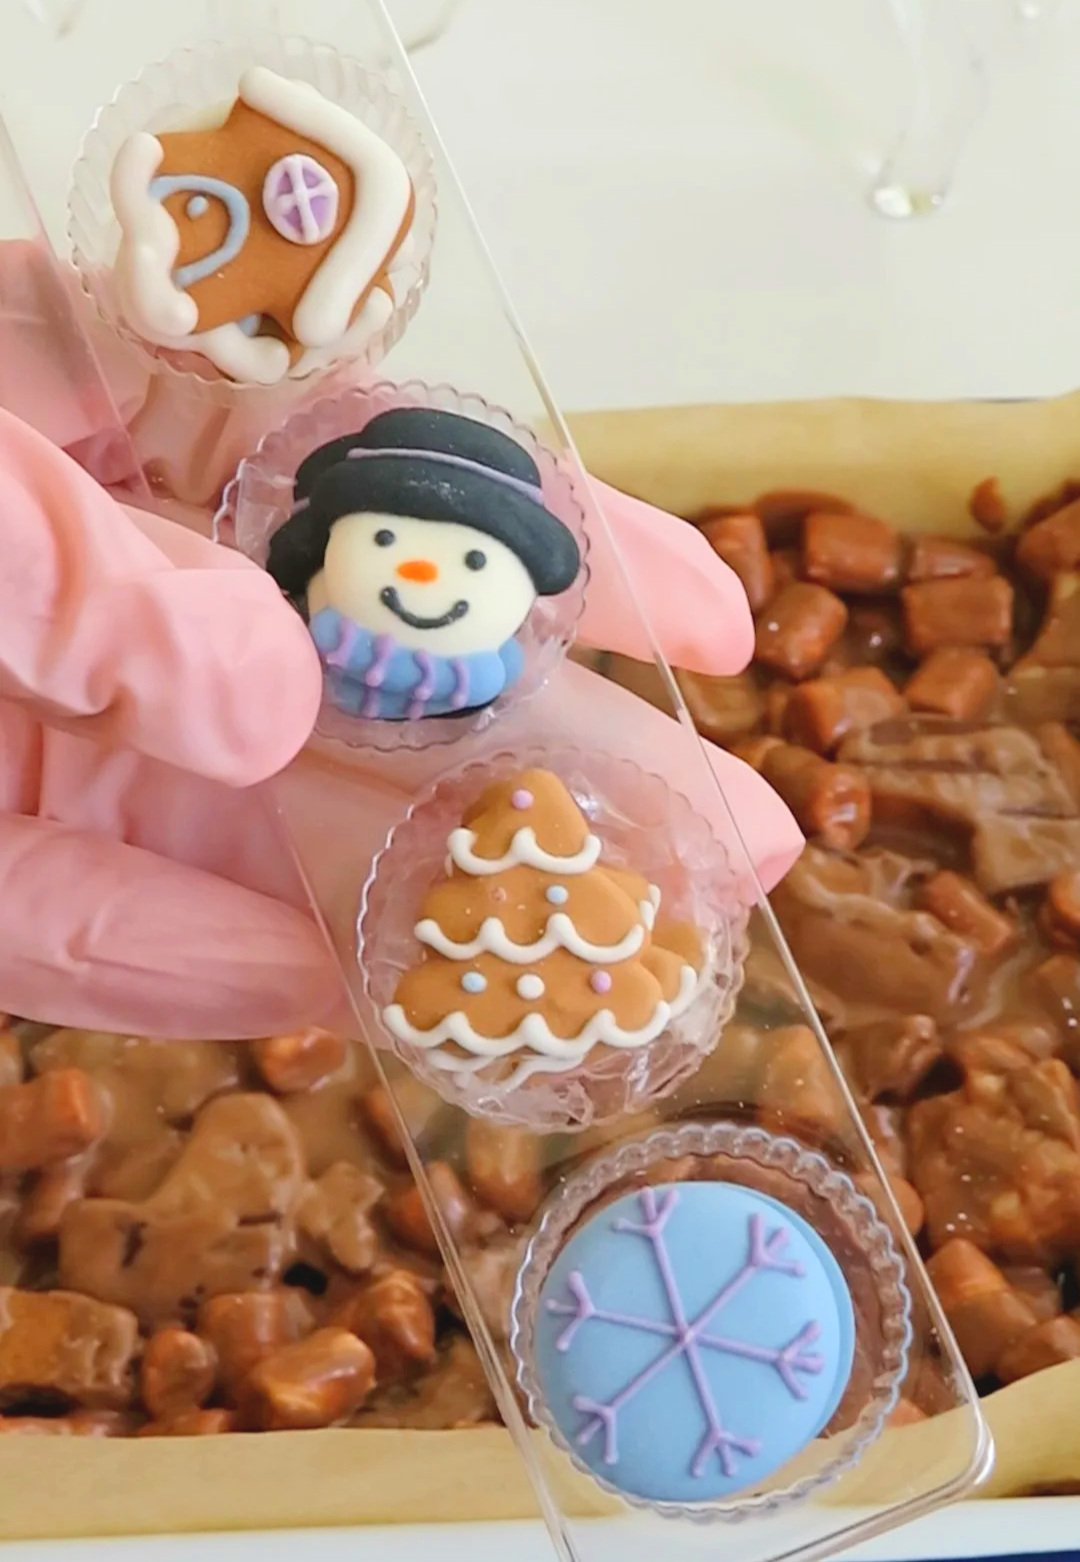
Dollar Sweets Winter Wonderland Icing Decorations (includes snowman, gingerbread house, snowflake and christmas tree icing decorations)
Snowflake sprinkles
Blue and white sugar pearls
Dark blue, light blue and white, little ball sprinkles
For the “Classic Festive” look
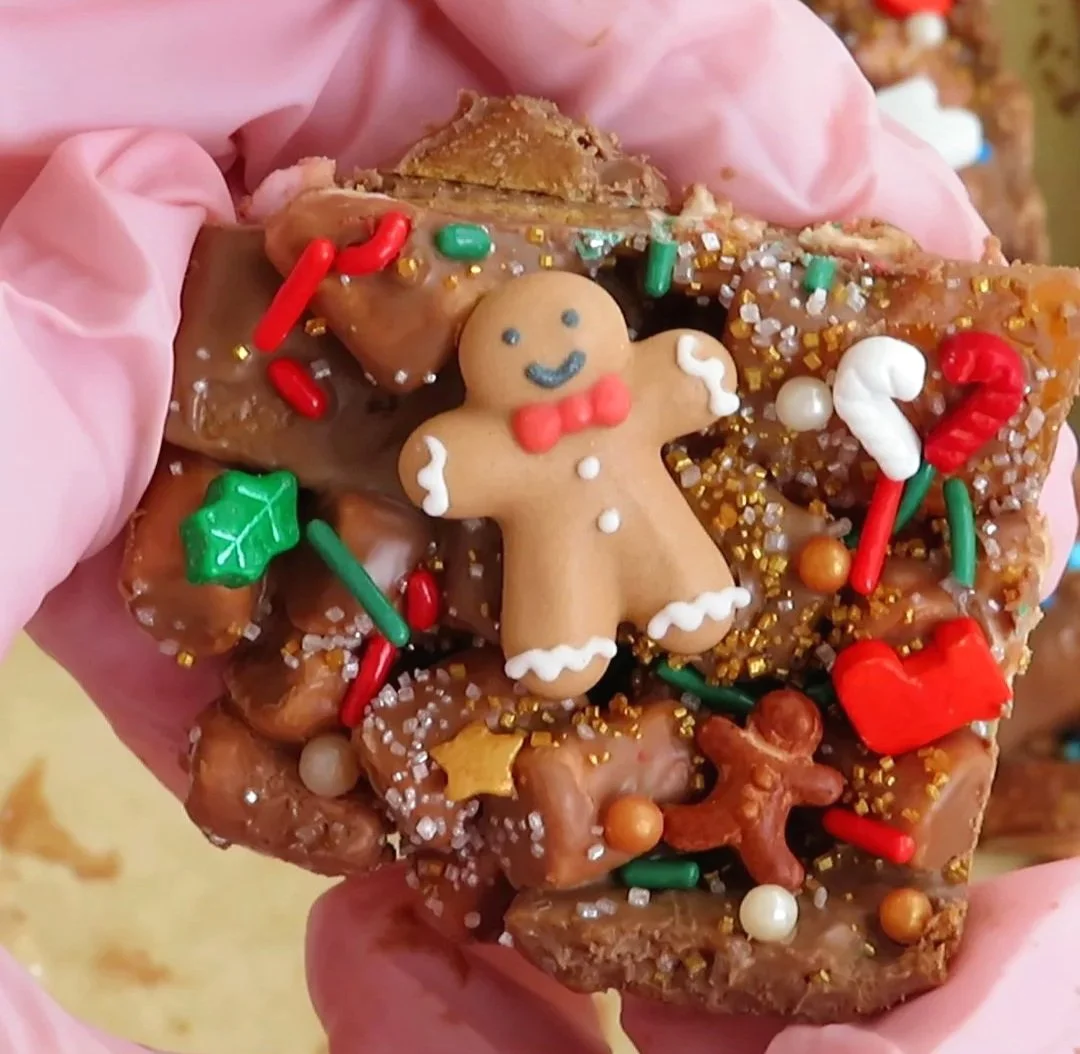
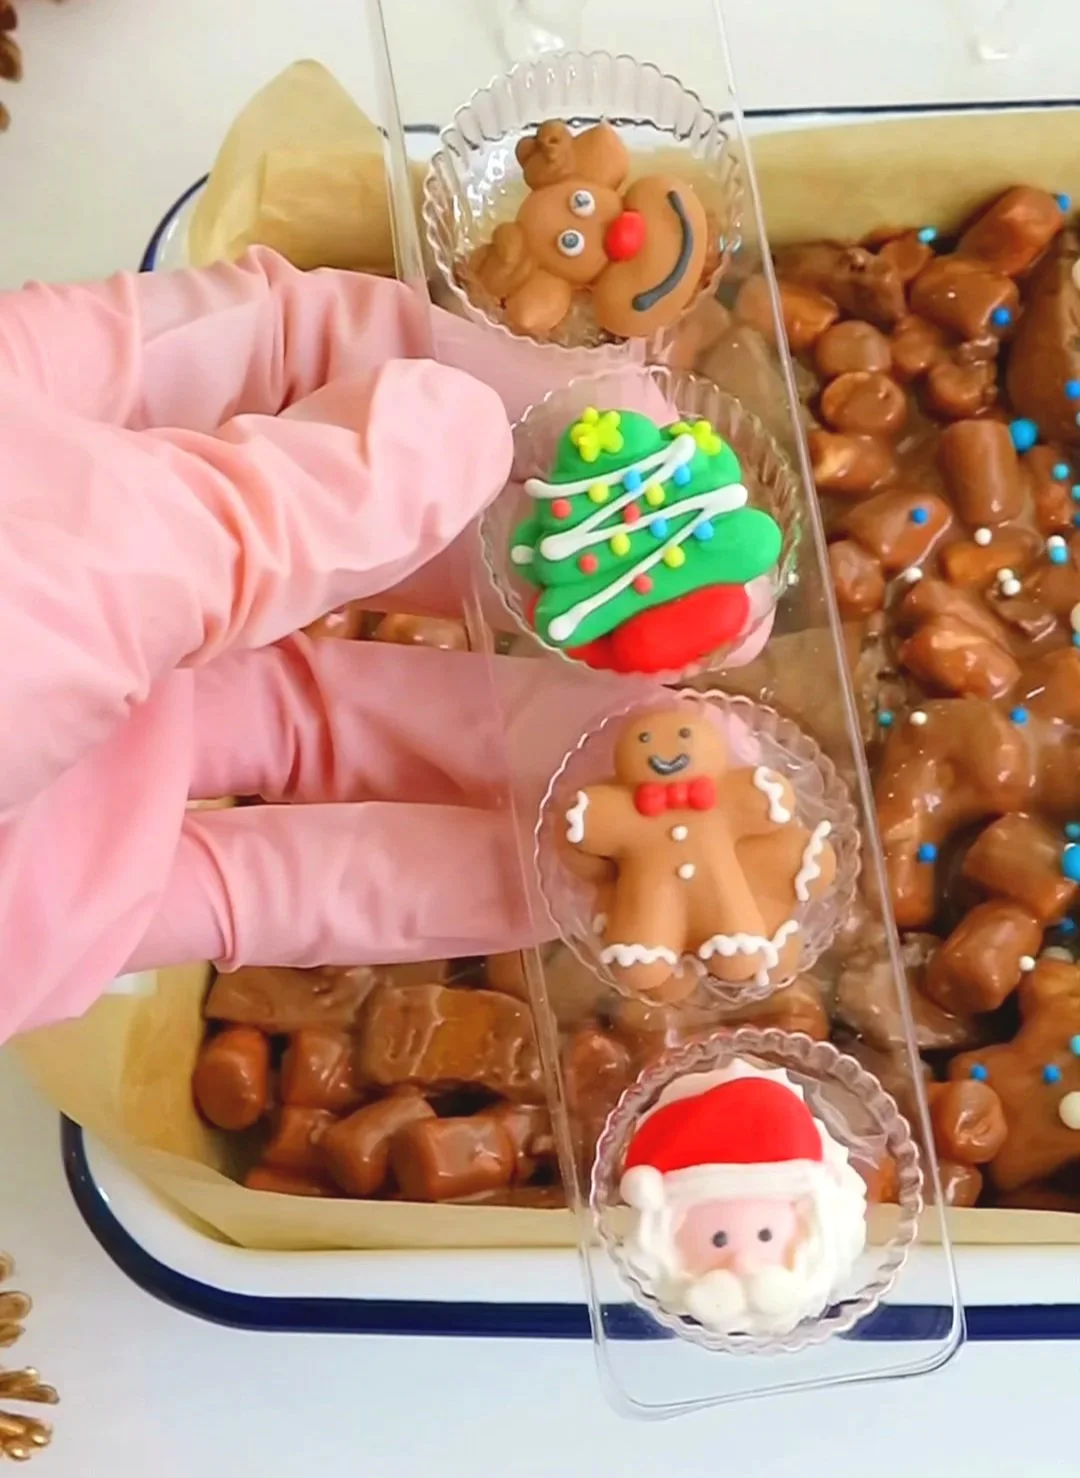
Dollar Sweet Christmas Icing Decors (includes reindeer, christmas tree, santa clause and gingerbread man icing decorations)
Dollar Sweets Christmas Sprinkles (A star-shaped 5 pack that includes mistletoe shaped sprinkles, red and white candy cane shaped sprinkles, red and white stocking shaped sprinkles, red and green sprinkles and gingerbread man shaped sprinkles) I got these at Coles but I believe you can also purchase this pack at ALDI, Woolworths and Big W.
Gold star sprinkles
Gold and white sugar pearls
Glittery gold sprinkles
METHOD
Line a shallow baking tray with parchment paper.
Add fruit gummies and marshmallows to a large bowl.
Break gingerbread cookies into bite size pieces and add to the bowl.
In a heatproof bowl melt chocolate until it is smooth and runny.
Pour melted chocolate over the gummies, marshmallows and gingerbread cookies, and mix to coat. Then transfer mixture to the parchment lined tray.
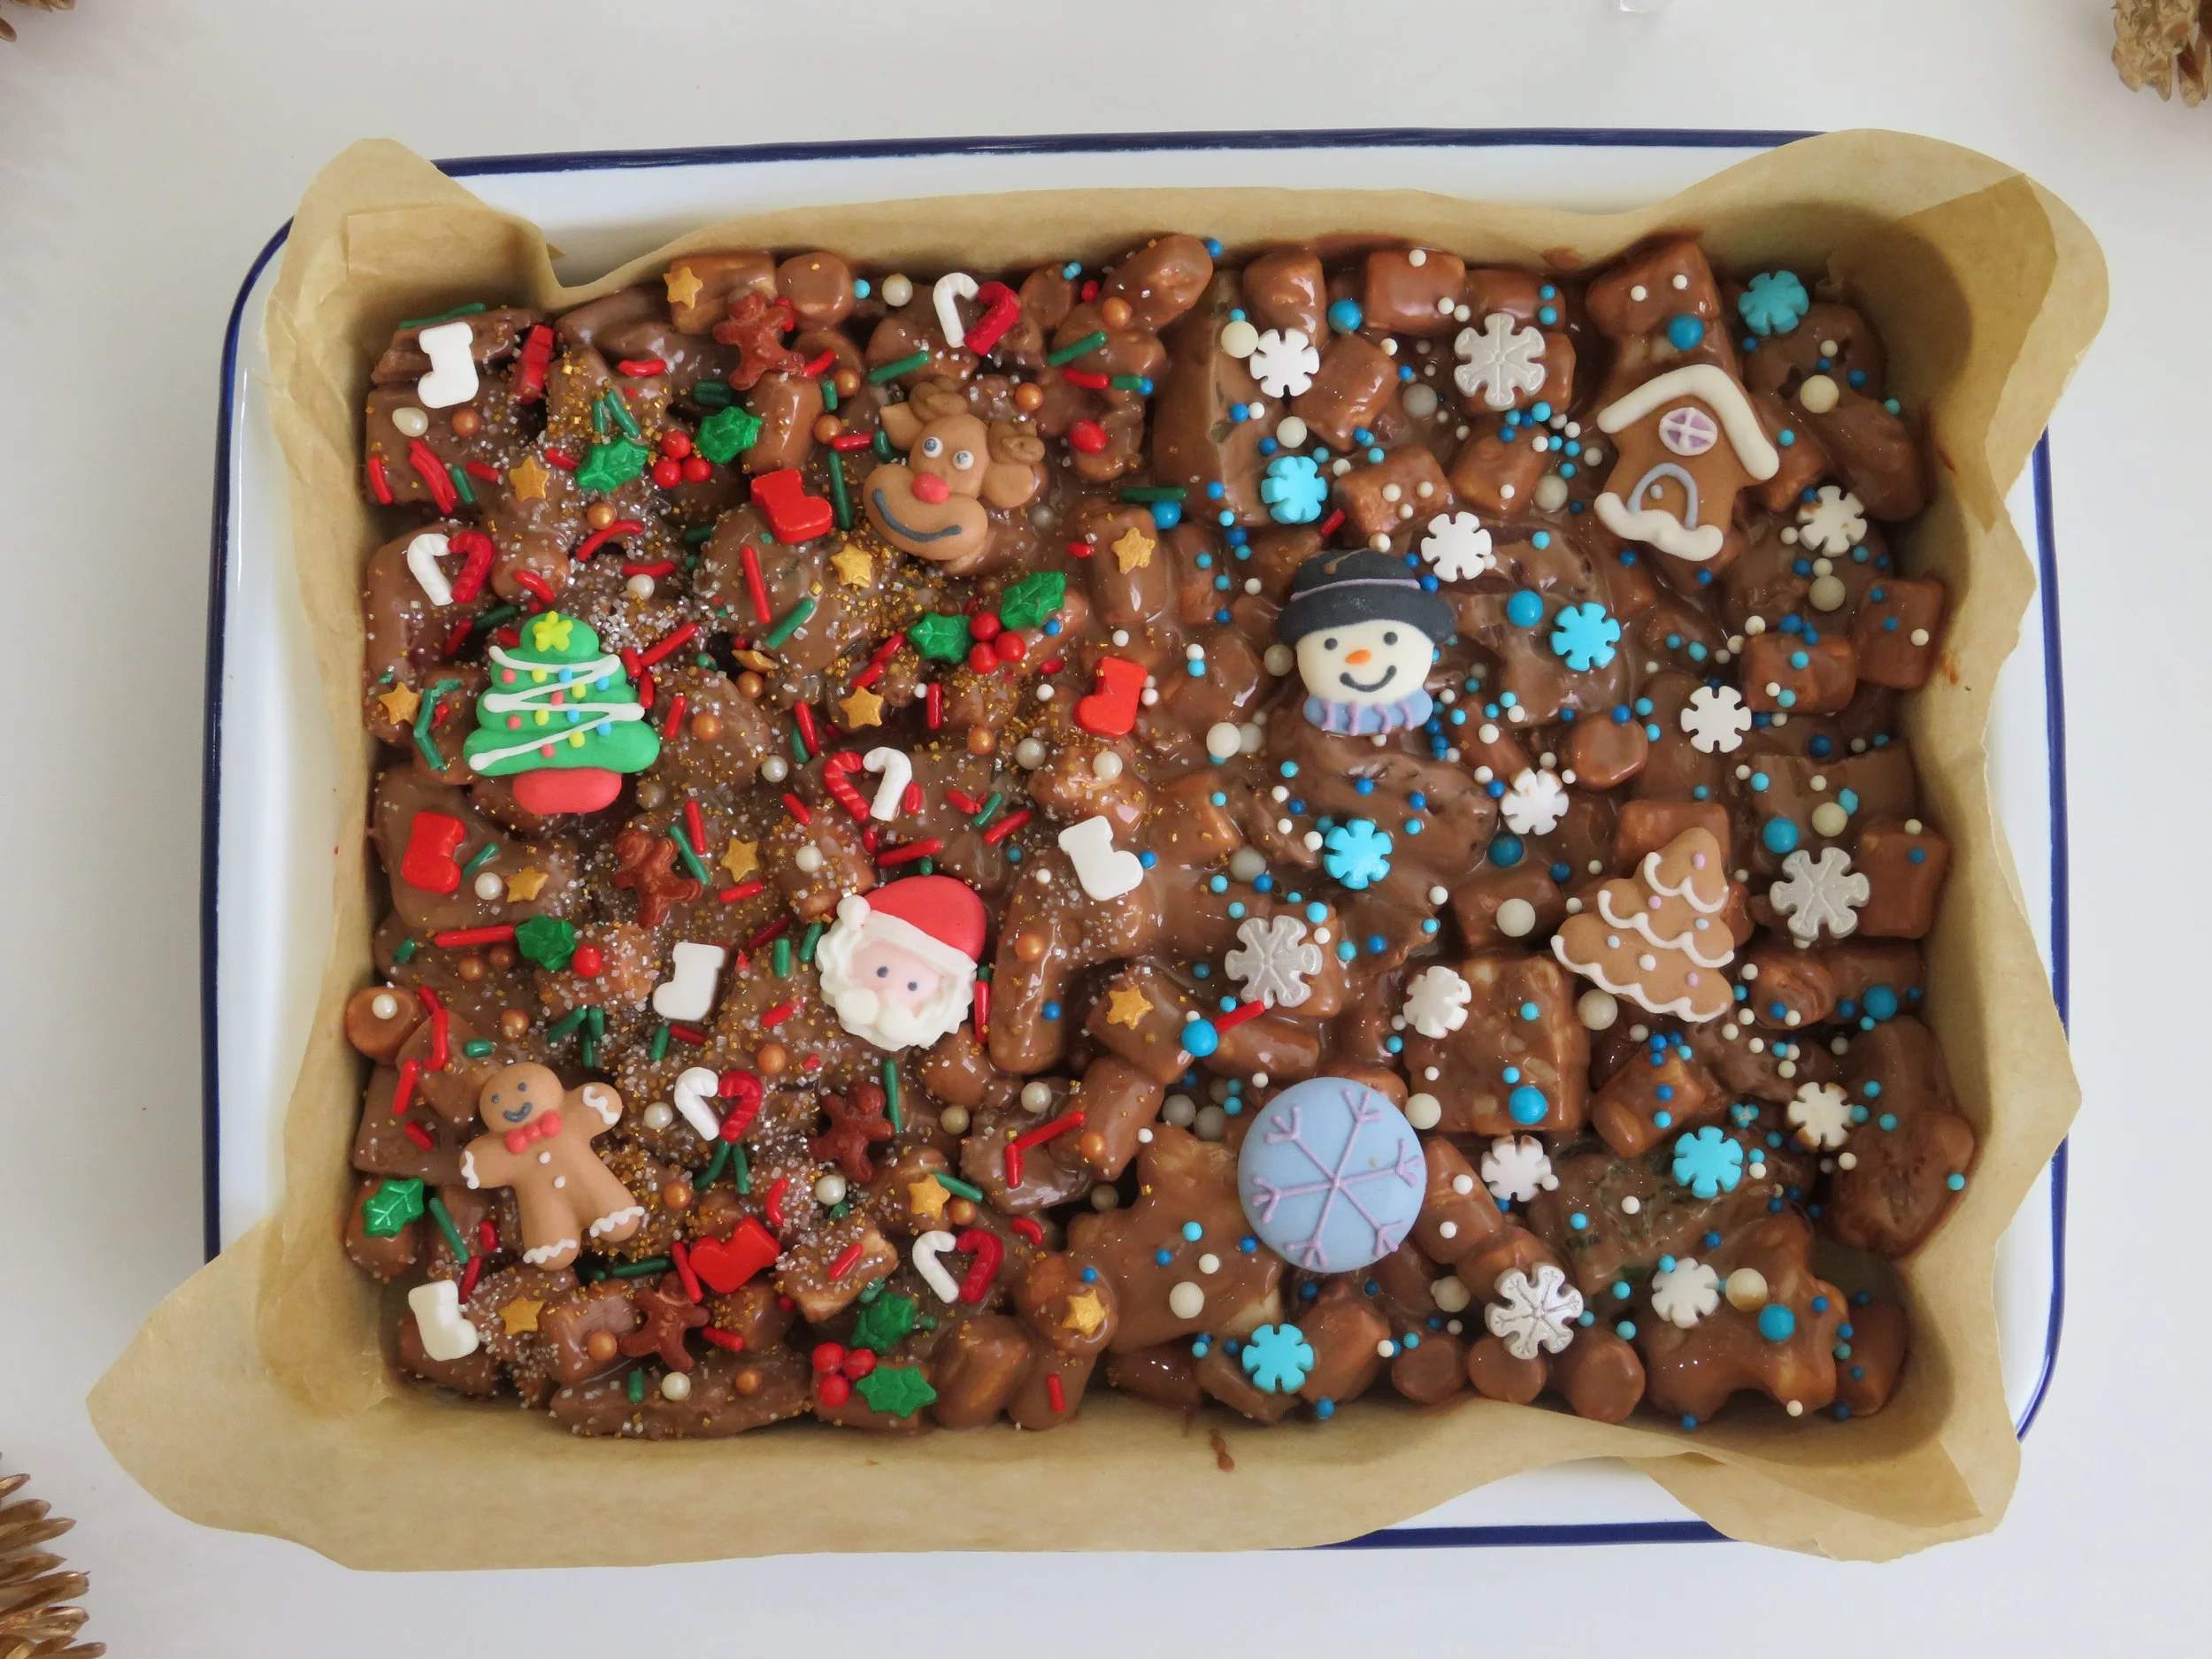
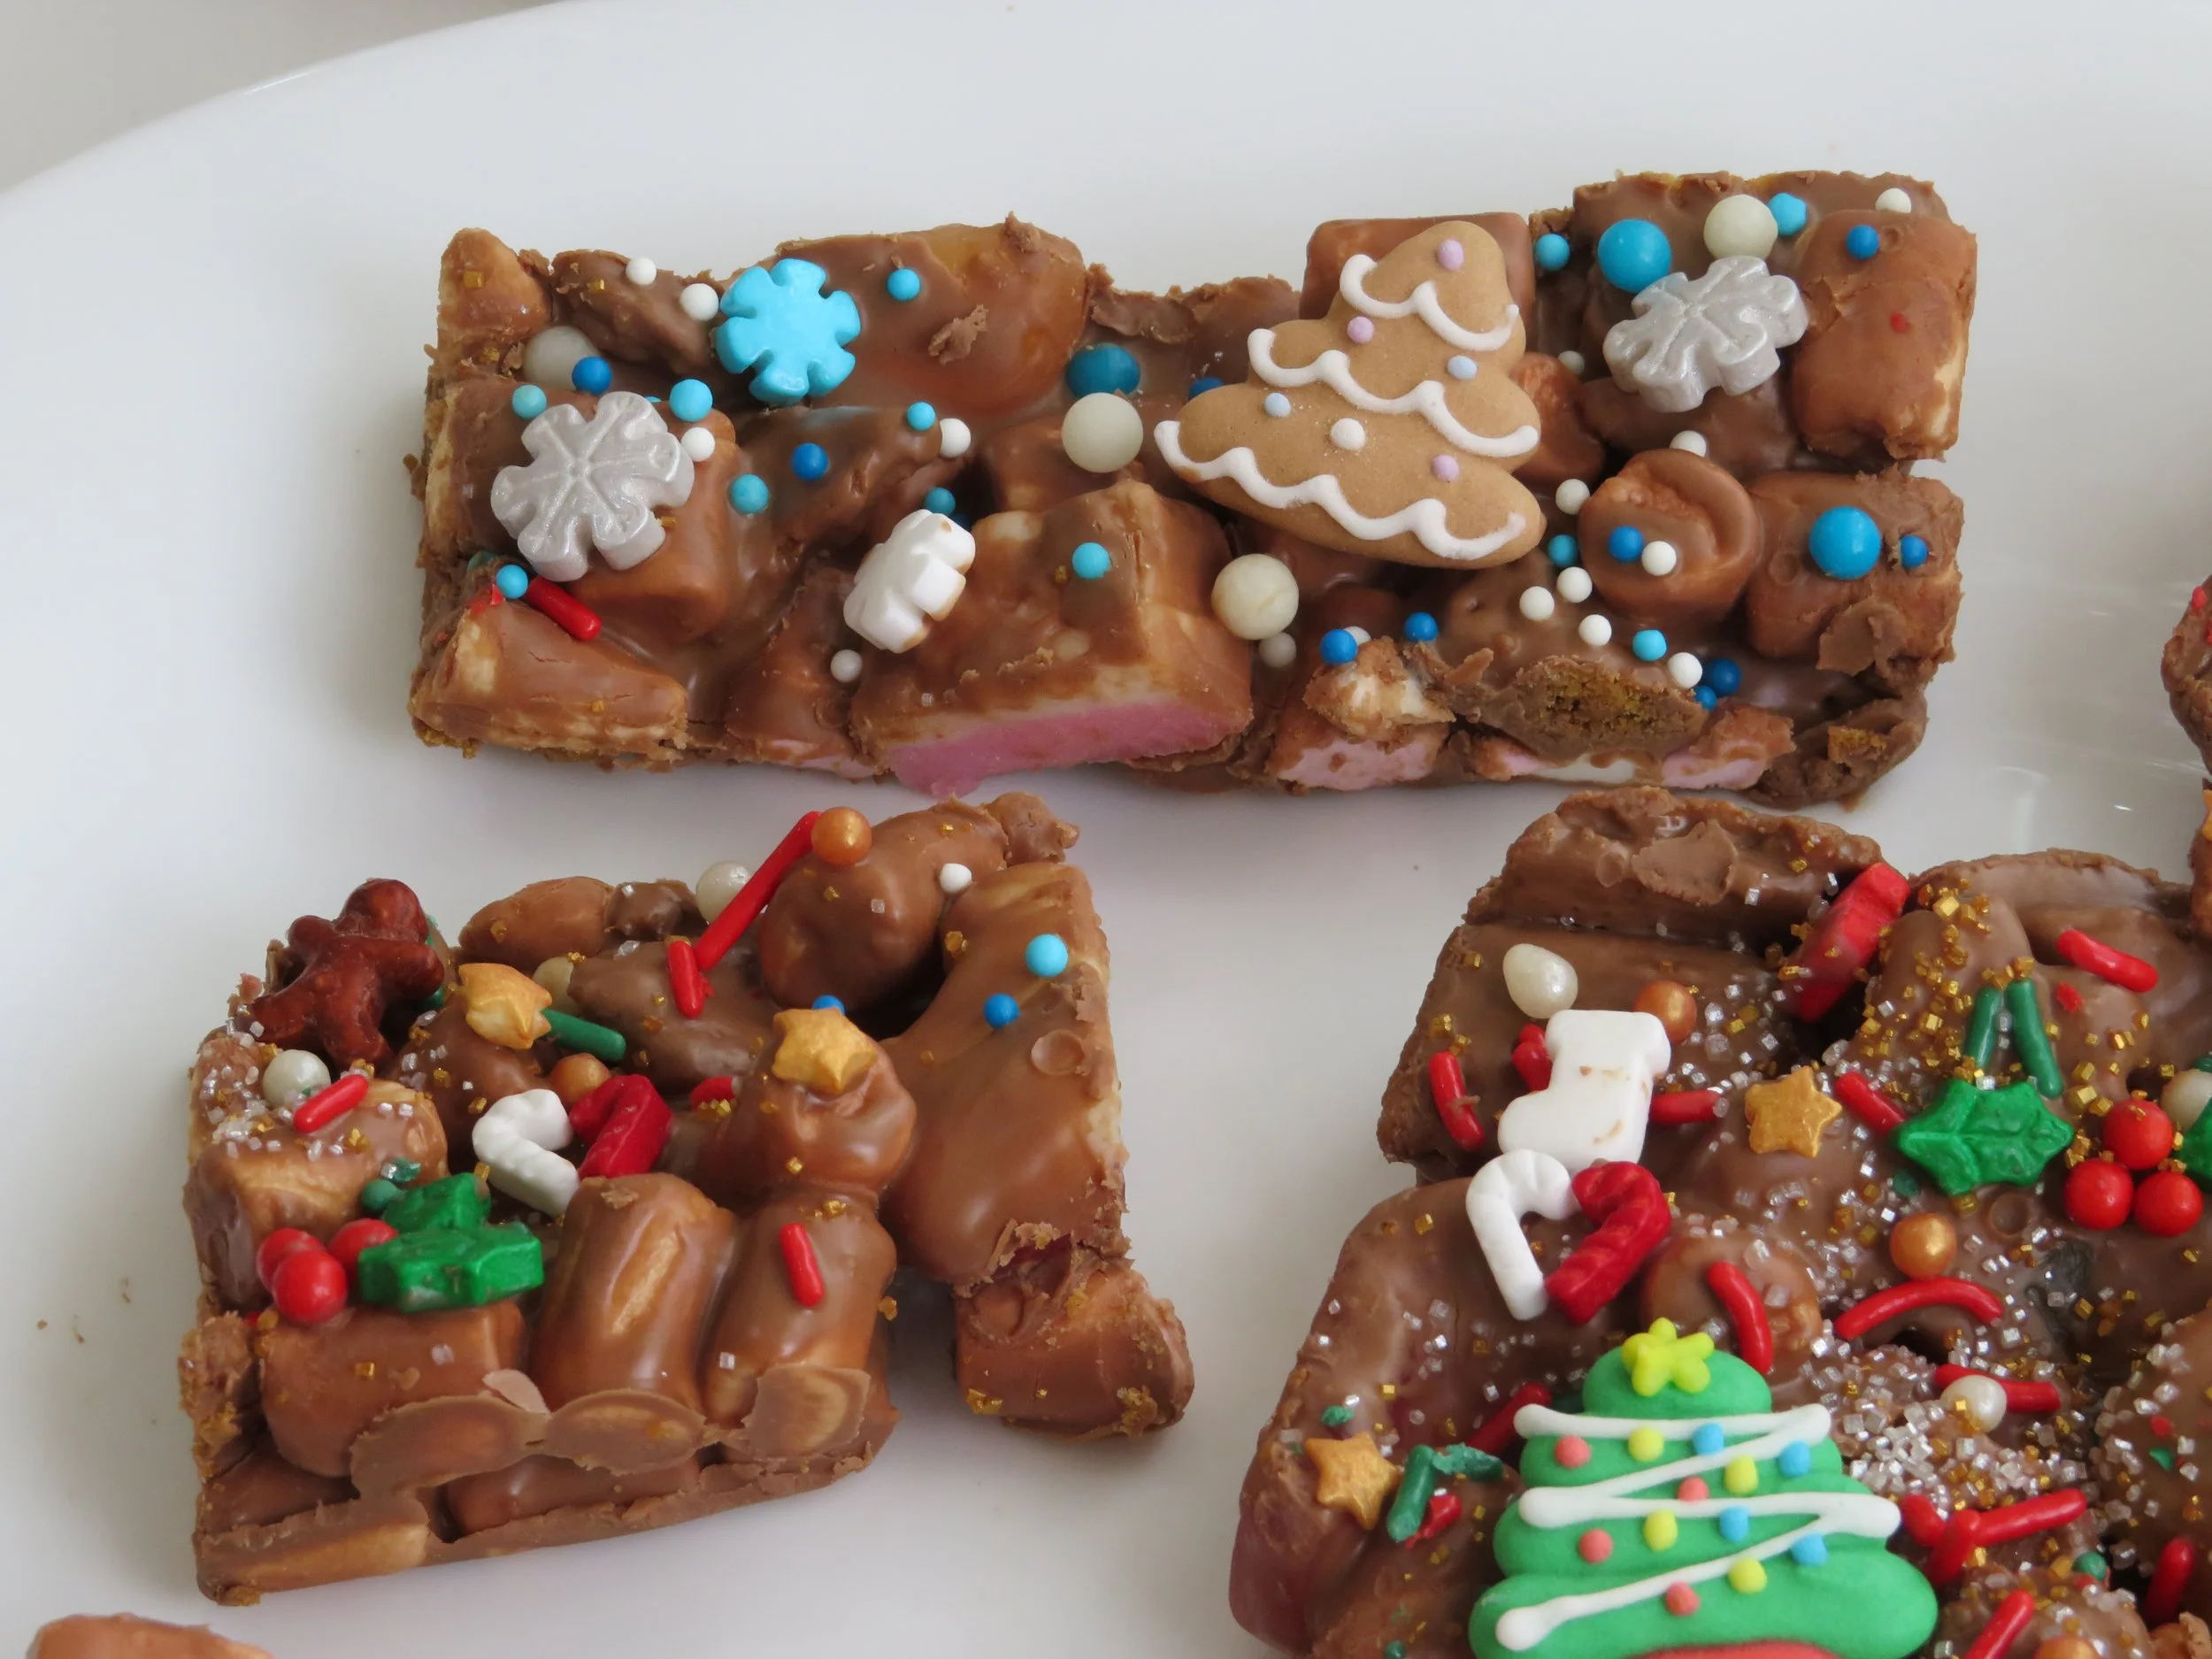
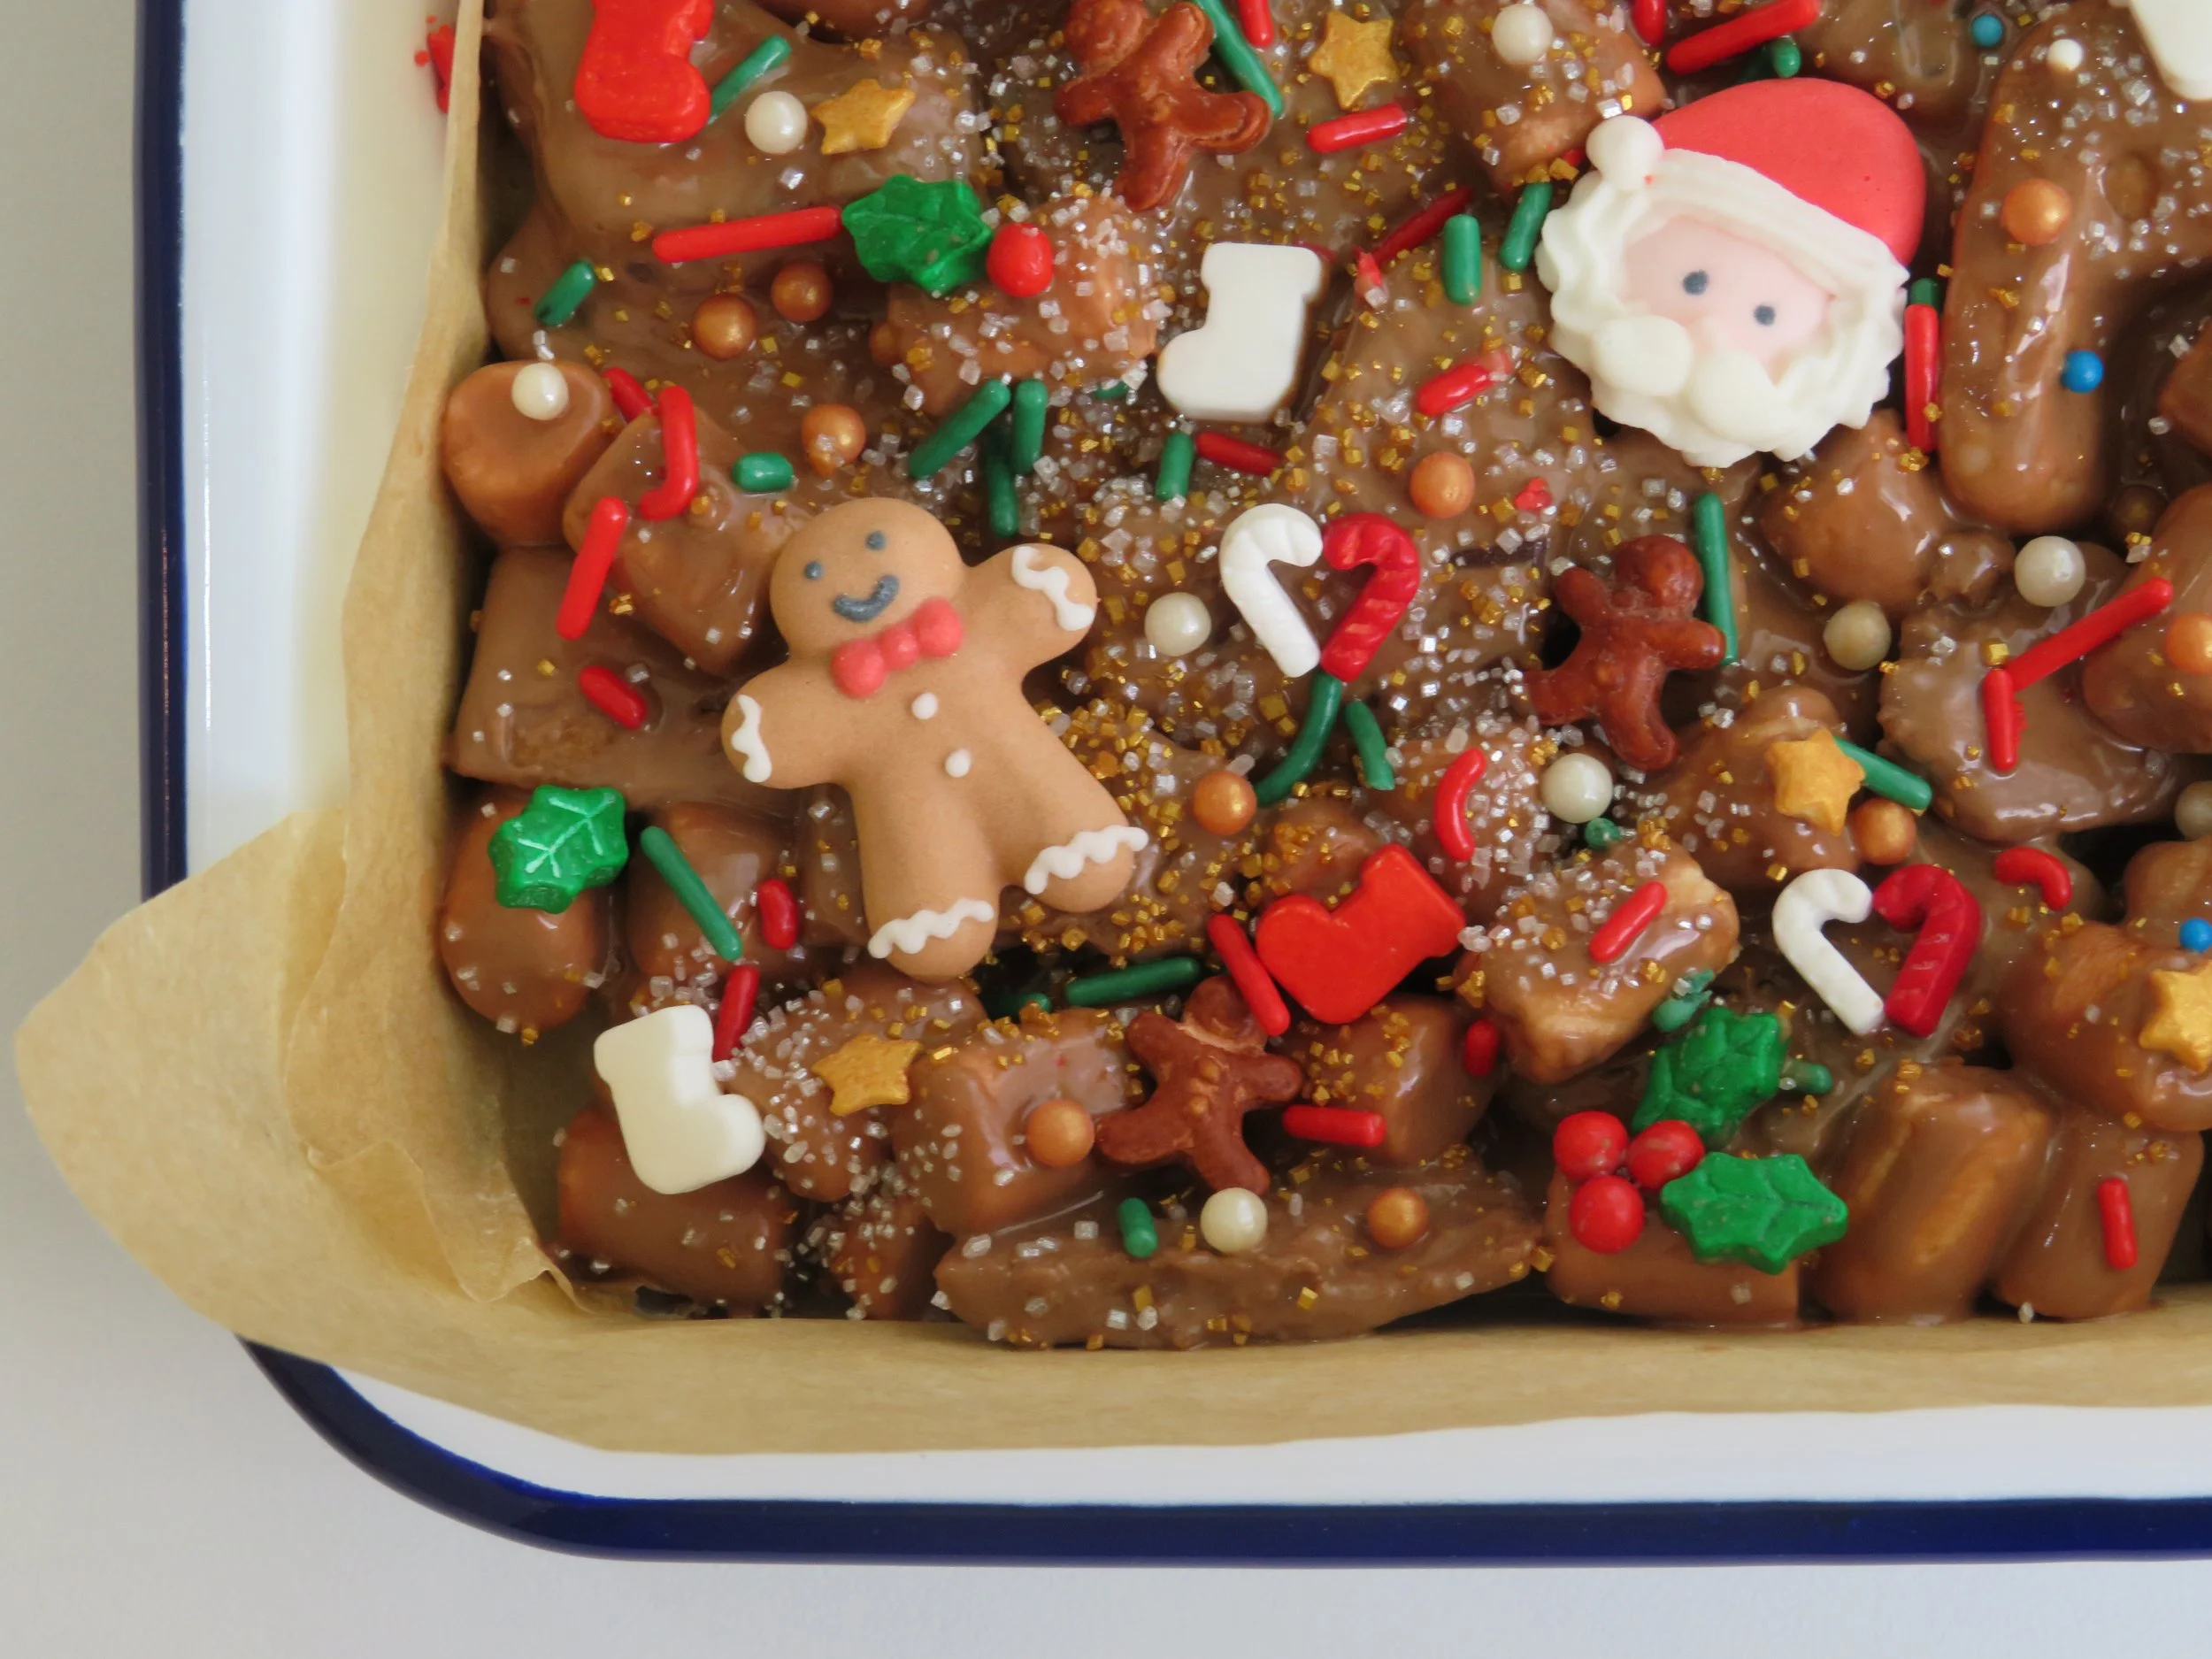
Decorate with the toppings of your choice. I opted to decorate the right side of the rocky road in a winter wonderland theme and the left side in the classic festive theme.
For the Winter Wonderland side, I first added the icing decorations, spacing them evenly. Then I added the large snowflake shaped sprinkles. Next I sprinkled over a few of the blue and white sugar pearls and finally finished with a lot of the smaller blue and white ball sprinkles.
For the Classic Festive side, I first added the icing decors, spacing them evenly. Then I added some of the red and green sprinkles, and a few of the red and white stocking sprinkles. Then I arranged the red and white candy cane sprinkles to look like candy cane hearts and arranged the mistletoe sprinkles to look like small bunches of mistletoe. I then added a few golden star sprinkles and finished with a dusting of glittery gold sprinkles.
Once you have finished adding the decorations of your choice, place the rocky road in the fridge to set for 2 - 3 hours or until firm and slices cleanly.
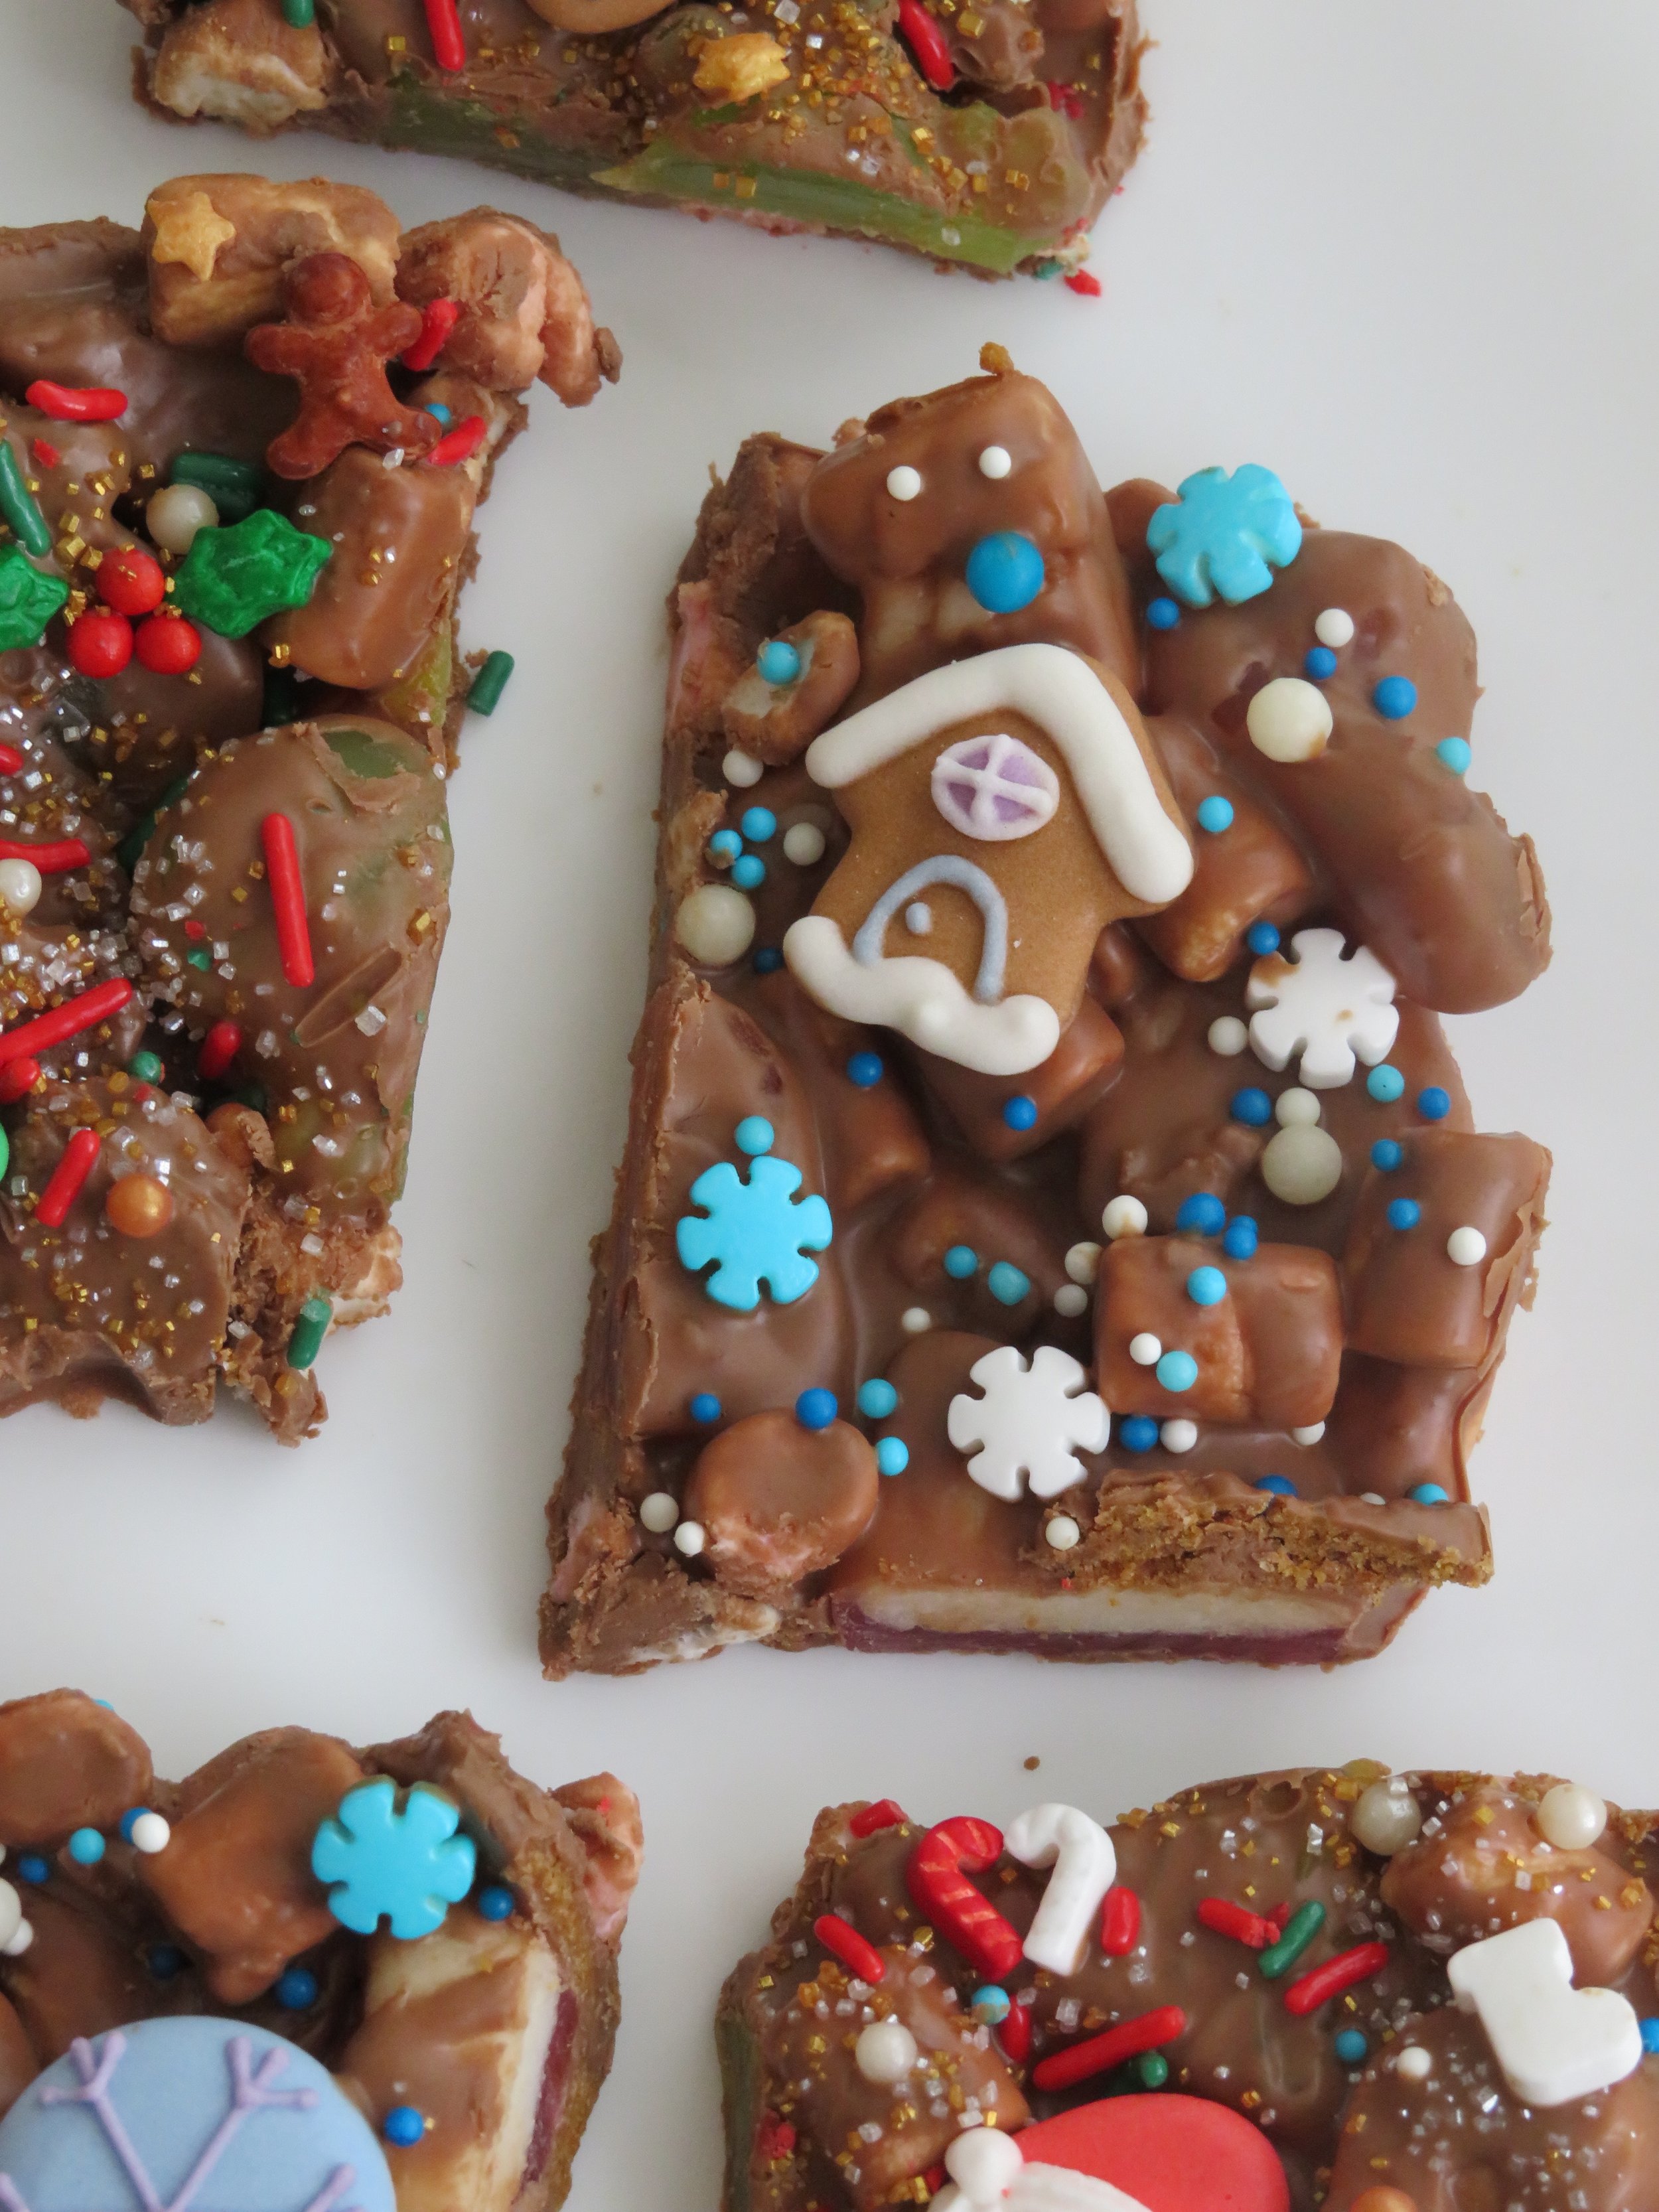
Once set, use the parchment paper to lift your rocky road from the tray and cut into squares or strips. Since this rocky road contains marshmallows and gummies, it will be much easier to cut if you warm your knife in hot water first. Make sure to wipe the knife dry with a teatowel or cloth, and then make your cut. Repeat with each cut of the rocky road, to ensure clean and even slices! Then serve your rocky road and enjoy! :)
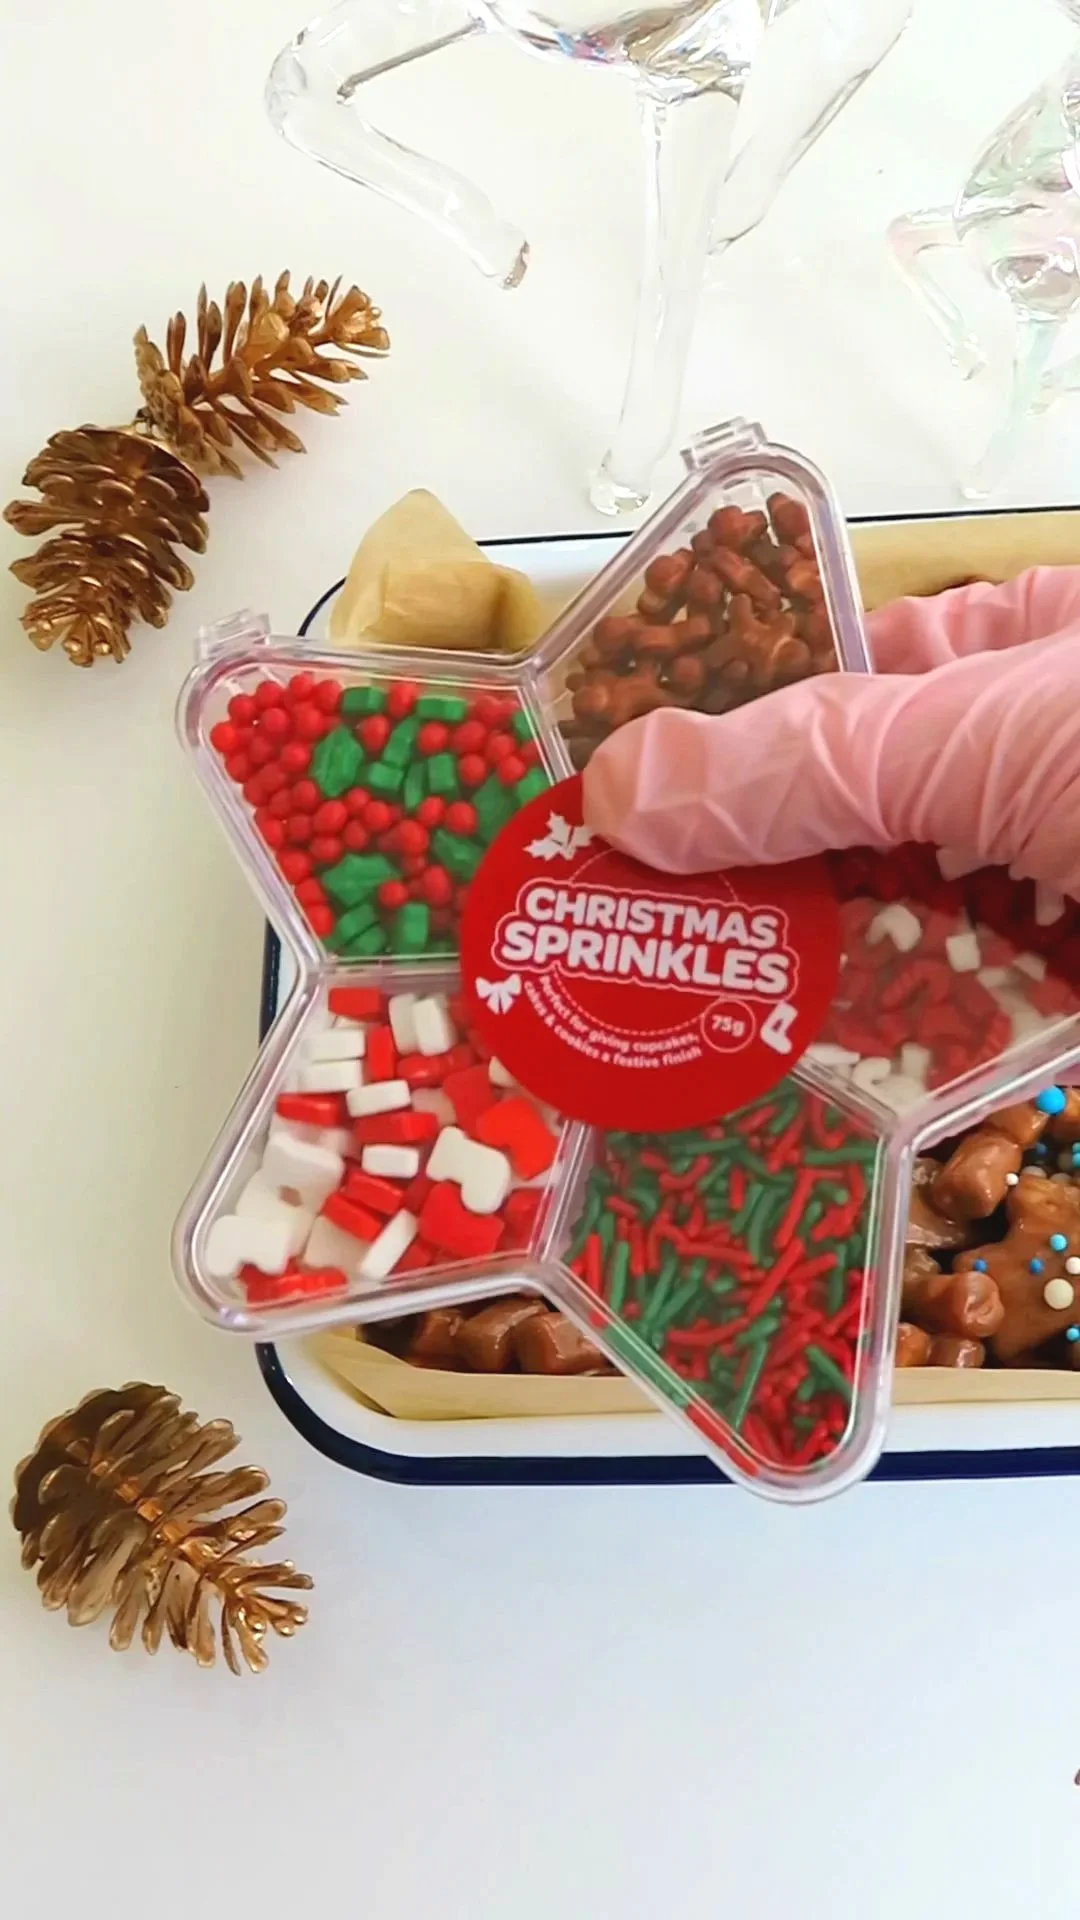
Christmas Themed Sprinkles
Winter Wonderland Icing Decorations
Christmas Icing Decors
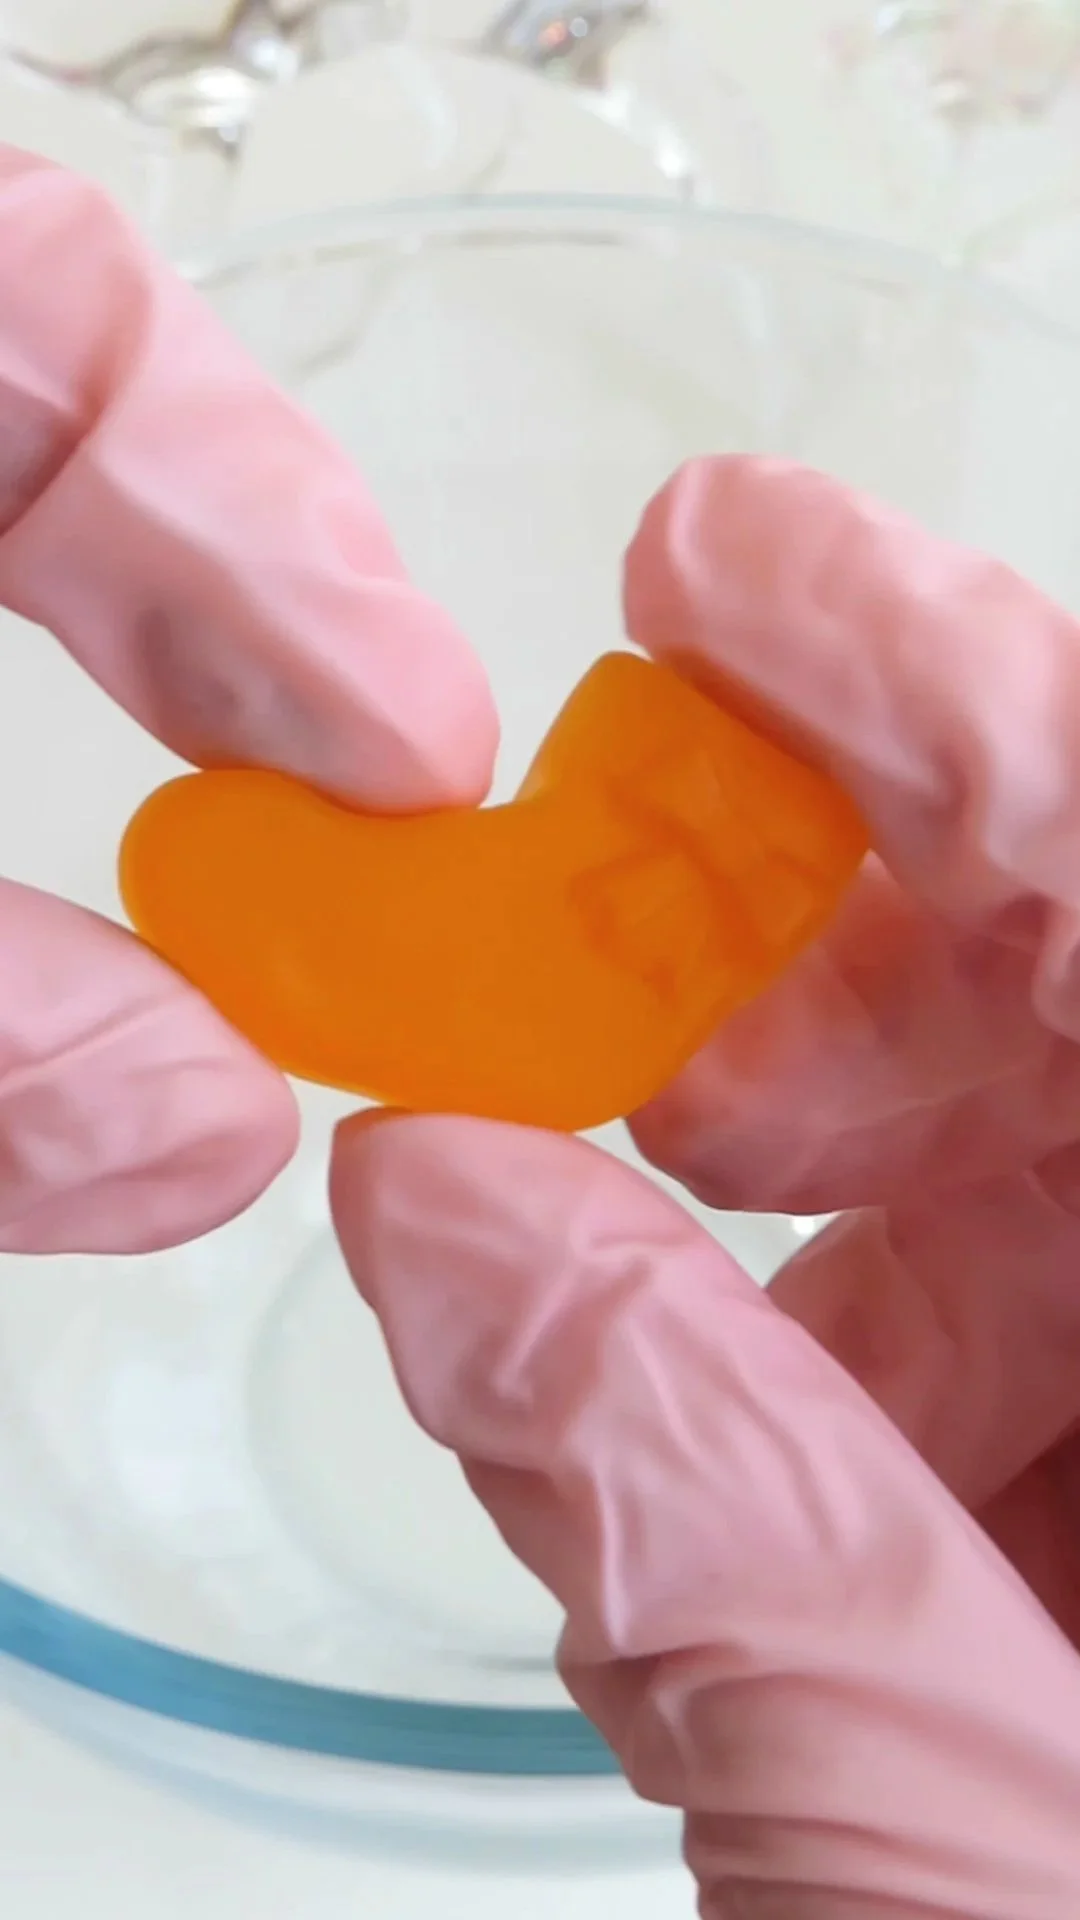
Stocking Fruit Gummy
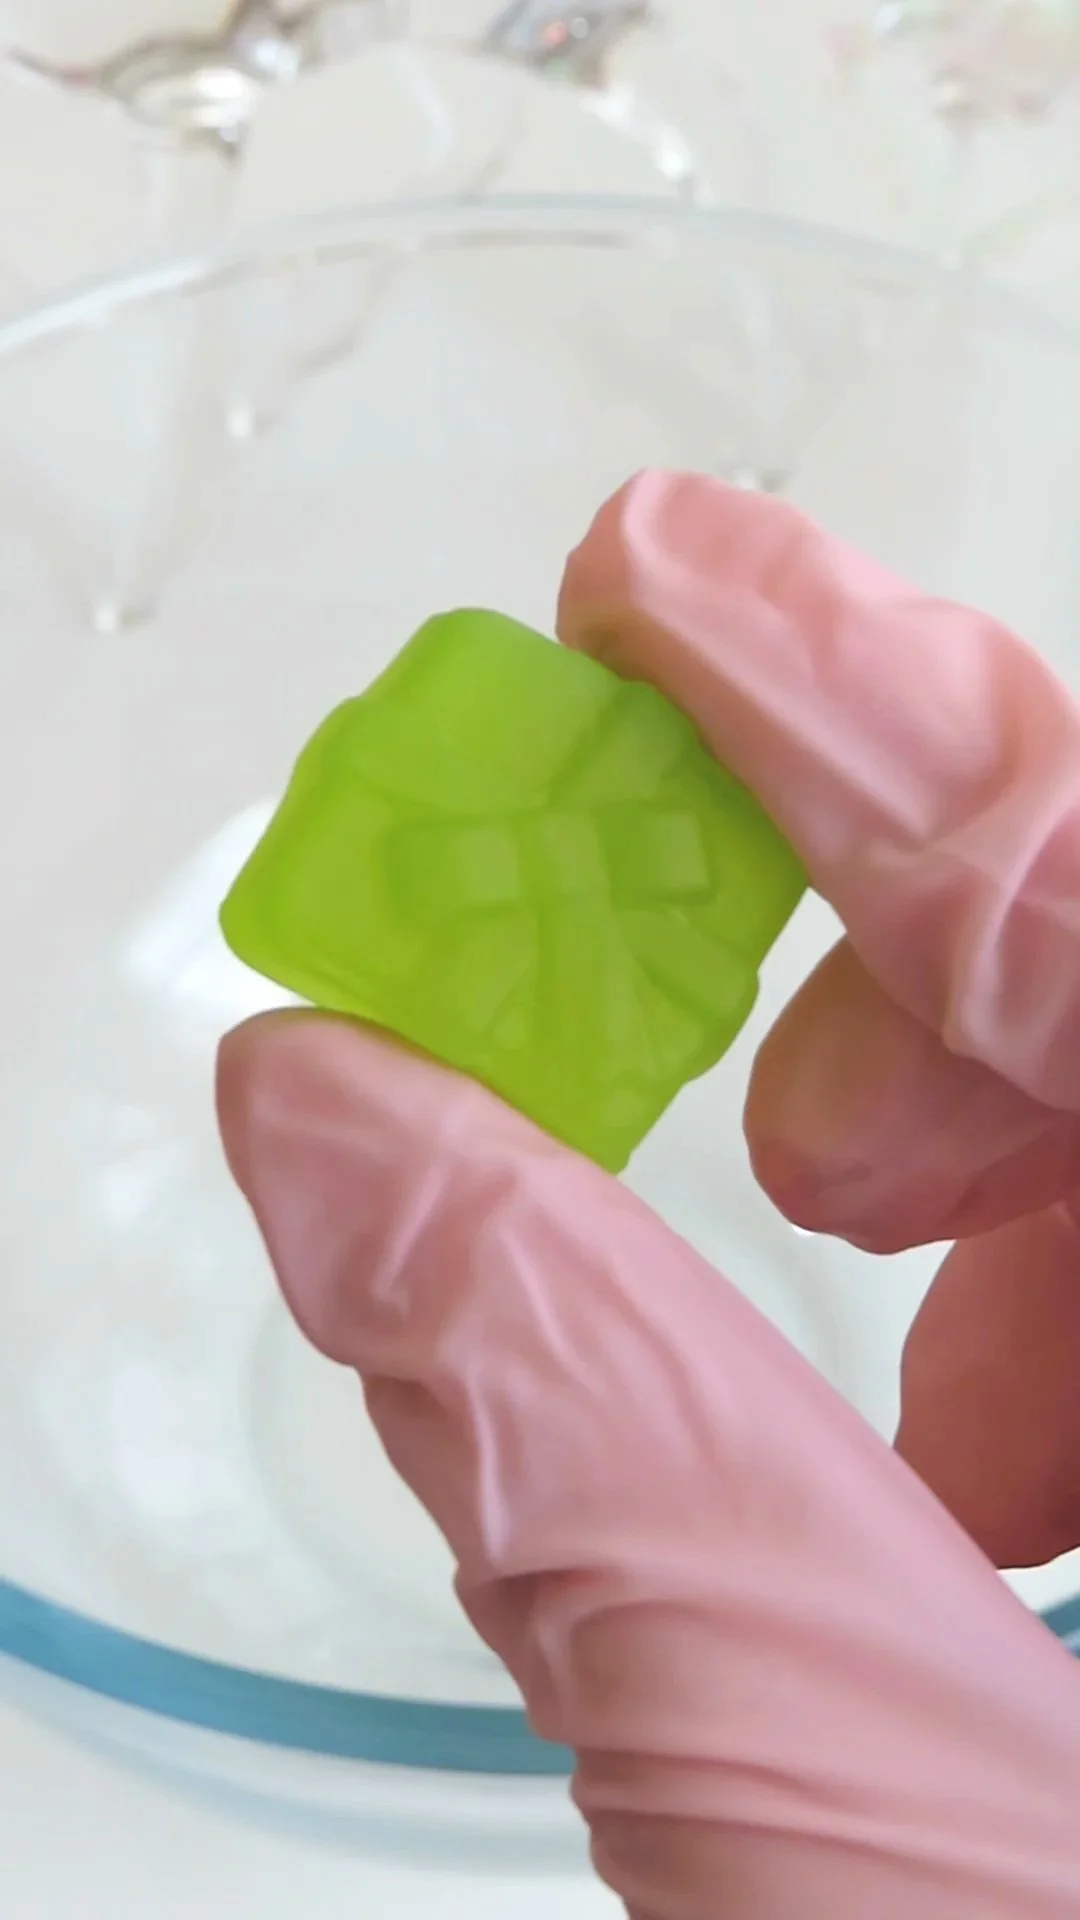
Present Fruit Gummy
Reindeer Fruit Gummy
STORAGE: This homemade rocky road can be stored in an airtight container in the fridge for around 2 weeks.
If you tried this recipe…
I’d love to know!
Please leave a comment below and let me know your thoughts on this Christmas Rocky Road recipe :)
You Might Also Like to TRY THESE RECIPES NEXT!